April 11, 2013

Jelly Roll Diamonds Quilt - Blast From the Past

I'm just gonna admit it up front...
I took these photos a couple of weeks ago,
the same day I saw bunny tracks in the snow.

{While I was out there, freezing my tail off, I figured I'd take pictures of this quilt, too.}


Plus, I actually made this quilt a really long time ago...
in 2007...but I never had a blog before,
so I'm going to share it now.


It was made from the first jelly roll I ever saw.
A wonderful friend from my local quilt guild
gave it to me for my birthday,
along with this pattern.


The fabric was Sanctuary by 3 Sisters for Moda.


I LOVED making this quilt.
I wouldn't say it was super easy, but it was all kinds of fun.


The bias edges were kinda tricky, along the border, 
and it was hard to match every point...
I believe a judge may have mentioned that to me in a quilt show...
but this quilt is still a favorite of mine.


This border was the reason 
I no longer mark my quilting designs
directly onto the fabric.

{Now I draw my designs onto Golden Threads quilting paper,
stitch them, and then tear away millions of bits of paper.
I never complain.}


I tried home remedies with dishwashing liquid,
OxyClean, baking soda...not even tears took those marks out.


But time heals all wounds...I'm fine with it now.
It's mine, and it's a part of my quilting history.


Every spring it breathes new life into me.


Pin It

April 9, 2013

La Petite Ecole Pincushions

Every once in a while,
takes me on an adventure in sewing!


I love being asked to make custom orders,
because it lets me try out new combinations
of fabrics and colors.


Along the way, as I create the custom items,
I get to know some very sweet people!
There are too many to mention,
but one of them is Mama Pea of Peas in a Pod,
who invited me to make some zakka sewing kits for her.


{I just love it when my clients have beautiful blogs of their own!}


Most recently, I had a request to make a few pincushions
using fabrics from La Petite Ecole by French General
for Moda.


Believe it or not...
I didn't happen to own any fabrics from that line!
Pretty soon, though, I had ordered one of the last remaining
charm packs...I'm guessing...and my customer
quickly sent out some scraps for the larger pieces I would need.

We worked together to design these new lovelies...
from my new "favorite" fabrics!


The Cathedral Window pincushions
were all made using the fabulous tutorial


The deliciously squeezy larger pinnie
was made from a pattern I got on Etsy


I'll let you in on a secret...
I was having a little anxiety about whether my client
would like this one, because the background stripe
is a bit more bold for a design option.

{Personally, it was my favorite one, so I put an "A" button on that one.}


Guess what?
She loved all them...
so I'll have to make myself another one,
with a striped background and an "A" for Amy.

{Or maybe an "e" for eamylove?}


For the pinnie
it was too hard to decided which side was the top,
and which would be the bottom.
That's why there's a "A" on one side...


and a "Z" on the other!


So now I have a sweet new sewing friend,
who is a kindergarten teacher
with an eye for pincushion design.

By the way...
I made a note in my sewing journal
so I can remember that the DMC floss #844
Ultra Dark Beaver Gray
is a perfect match for this line.


Because I'm already plotting and planning
my next project for the rest of those charm squares!

{Ooooh...wouldn't this line make a sweet sewing kit, too?}

Pin It

April 7, 2013

A Blurb About My Book

Ever since I was a little girl,
I've wanted to write a book.
So, with the help of a little place called Blurb...
I did it!

{It's only 20 pages, and mostly, it's photos, but I think that counts anyway.}


It isn't difficult, and there's no possibility of rejection!
It's not even expensive,
especially with sales and discount codes.

{Now through April 30, 2013,
get 15% off with the discount code APRIL15.}

All I had to do was choose a subject...
I chose Pincushions!


Next I selected some pretty photos,
and followed the directions.


It was fun to select fonts and layouts.


Pretty soon I had my book ready for publishing.


It didn't take long for the mailman
to deliver my very own coffee table book
straight to our mailbox.

{I live in a remote controlled world...
I even had to put most of them away for this photo.  MEN!}


If you would like to buy a copy,
it's available for sale, even as a PDF version, 
here!

I might have to write a sequel...
you'll see what I mean in my next post!


Pin It

April 3, 2013

Sewing Notebook - Across the Pond Sew Along

Here in Pennsylvania,
the sun is finally coming out,
so I took advantage of it to show some photos
of my brand-new sewing notebook!


Those are my pretty white Easter tulips...
oh, look, they need some more water!

As I was saying...
this month we are making journal covers,
so I decided to create a Sewing Notebook
from a composition book.


There are so many great tutorials out there,
and you can find more links for them,
plus inspiring photos
when you visit Susie's Sunroom...


and Amanda The Patchsmith.


I was almost paralyzed with indecision...
which tutorial or pattern should I use,
and which fabrics should I pick?

I recently received a very sweet gift...a fat quarter bundle 
of Boho Girl, in blues and greens!
I had my heart set on using those for my journal cover.


Normally these cool colors are calming and soothing...
but in this case, the prints are full of movement and energizing.

{A perfect combination for a sewing journal, right?}

For my pattern,
I could no longer resist purchasing

{Within minutes of buying the PDF, I was on my way to making my cover...woo-hoo!}

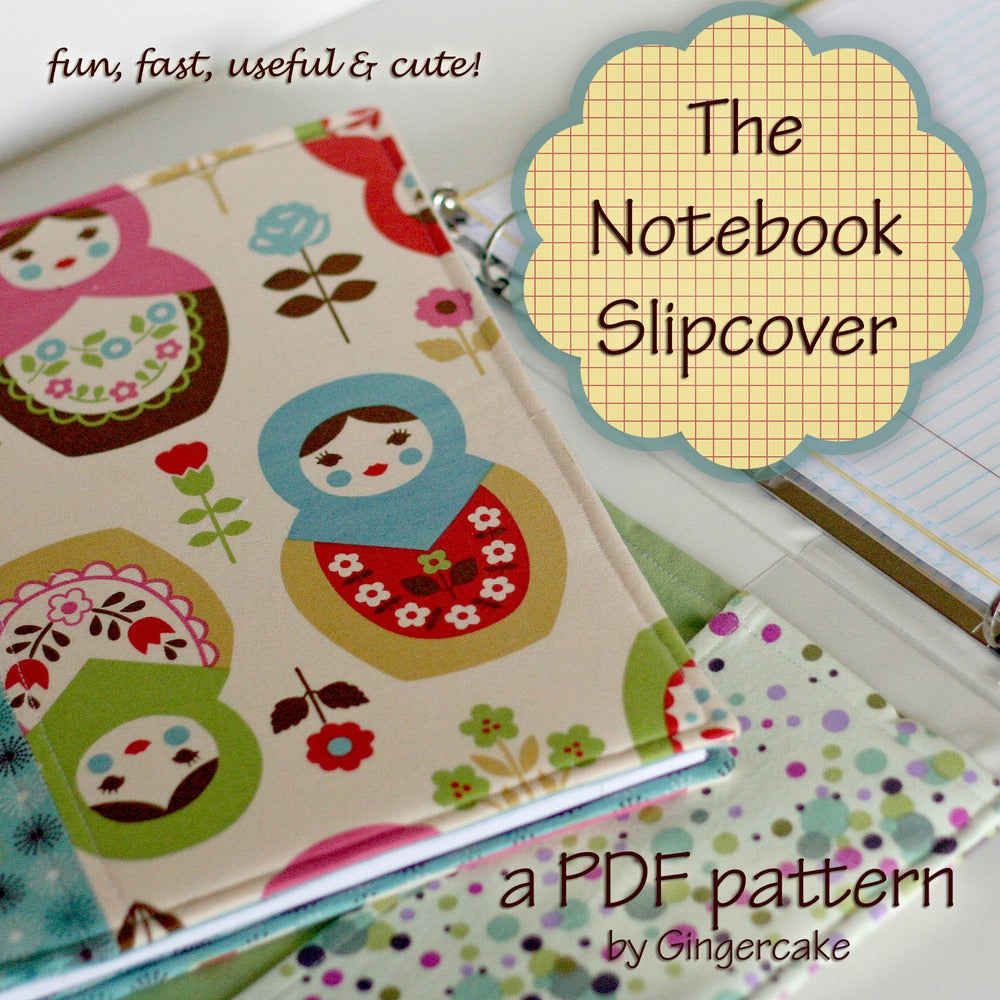
Gingercake Pattern for The Notebook Slipcover, from the Gingercake Patterns and Designs website

And only about an hour or so later,
I had my first notebook cover!!!

{I made mine very simple, without the flap or button closure.}


I love the way this pattern
lets you use several coordinating prints,
so you don't have to choose just one favorite!

I made the little pockets for the interior.


The topstitching detail is easy and pretty.


Now, I must admit something about that pattern 
didn't make sense to me while I was sewing.
This morning
I decided to email Virginia {Gingercake, herself}
to ask her my question.

Near the end of the pattern,
the measurement for the seam that holds
all of the layers together
was much larger than I thought it should be,
and my little notebook had too much wiggle room.

{It was an easy fix...I just stitched it around again,
with a narrower seam, and it fit perfectly.}


Virginia got right back to me and explained
that the seam was made bigger,
so that a binder or heavier notebook
would have room for the thicker sturdy covers.

{Makes sense...I'll have to make a note of that, in my Sewing Notebook.}


And then...as I was downloading these photos from the pattern site...
I had an epiphany...I completely forgot to do that
final topstitching through all of the layers!!!
That would make it look even more tailored and professional.

{See what I mean?}


I guess I was just so excited to finish it...that I didn't finish it!

You know what that means...
I'm gonna have to make more of these!


If you make one...or more...please show us what you've created

Pin It

April 1, 2013

April Across The Pond Sew Along


Believe it or not...it's already time for our next theme

It was Susie's turn to choose the project,
and you are going to love her selection...

We're making Journal Covers!

Susie has already whipped up a couple of beautiful
covers, for inspiration.


Not to be outdone,
Amanda the Patchsmith
has already posted her two models as well!

Here is one lovely version...
with butterfies as beautiful as those found in nature...


And this is the second one she created!

{What is that, "peeping" from the corner?  
The latest mug rug in the series of sweetness from The Patchsmith! 
I love it with that spotty mug!}


I've been spending more time in the kitchen
but I've managed to research some great links
for journal cover patterns and tutorials.

First up is a Moda Bake Shop project,
courtesy of the beautiful blog called Bloom.

{Look...two lovely versions, and one uses linen...so zakka!}


Next up is something a bit different...
more like a portfolio
or list maker style,

{The print selection is just perfect, don't you think?}


Vikki from Sew Useful Designs
shares another method for covering a notebook,
and her instructions for customizing are excellent!

{I like the binding idea, too!}


Here's one from sew grown
that uses a different technique altogether
with linen, a print accent band,
and a lovely velvet ribbon embellishment.


Melanie from The Crafty Cupboard
shares a sweet version
with some pocket details.
It's the most recent one I've found,
and the prints she has chosen are so sweet!

{I feel her pain, with the oops moment she had. ha ha ha}


Now, if you're in the mood to purchase a PDF pattern,
 here's one that looks so super cute!


{This is just one of several versions she includes.}


Which one shall I make???
Or will I find even more ideas over at
and

{Come back soon to see what I come up with...we'd love to have you sew along!}


Pin It