Showing posts with label fig tree. Show all posts

April 6, 2016

Cathedral Window Pincushions - Spring 2016

Hello, Friends!
I'm getting ready for a fun spring craft fair,
so I've been making some new Cathedral Window pincushions.

{Have you seen glimpses of them on Instagram? My Instagram name is @eamylove.}


I've made lots of these sweet little pinnies.


 I kind of have it down to a science now.


I love to prepare the backgrounds for several pinnies, all at once.
There is a lot of pressing in the first steps,
and I can do the prep work even if I have no time for sewing.
Later comes the fun part...placing the fabrics.
If I have more than one background prepared,
I don't have to fret over selecting the PERFECT combination
of colors and prints.


Instead of stressing, I can actually experiment and play
with various combinations of prints and colors.


Here is a sweet set I made from
Happy Go Lucky prints by Bonnie and Camille for Moda.


This dynamic duo was made with Strawberry Fields Revisited
by Fig Tree Quilts for Moda.


I have a "thing" lately for that brown, yellow and green palette.
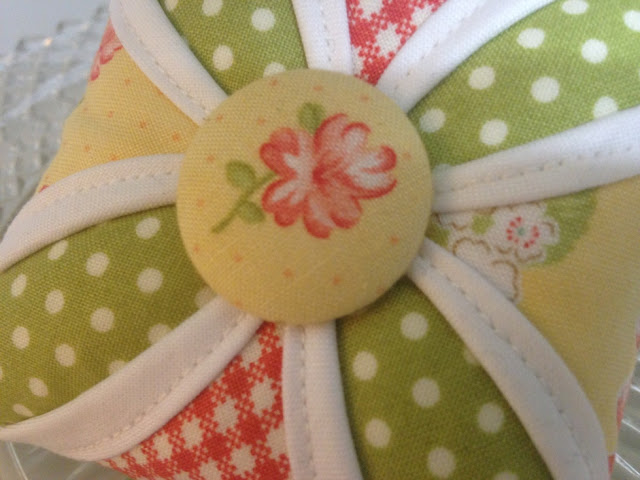
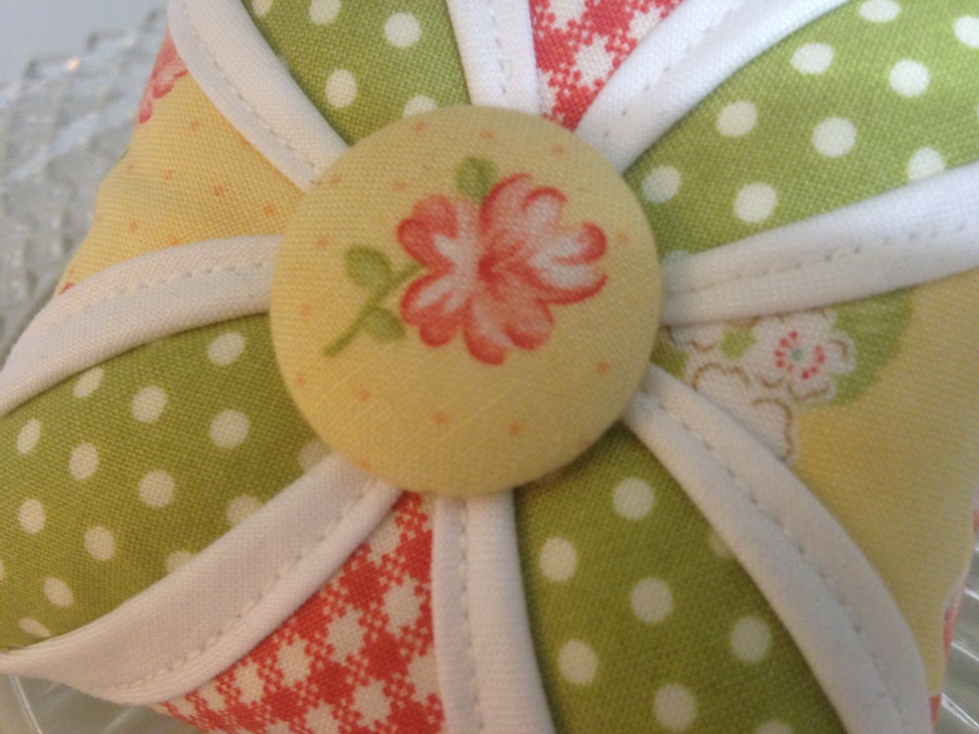
The final touch is the covered button.
They are really fun to create,
especially with a lovely tiny print like this one.


These pincushions look so adorable stacked up together.
They're just a wee bit pudgy...I call them pleasingly plump!


I also made this darling little white pincushion...
in my humble opinion, it's absolutely exquisite!


I will be making one to keep for myself.
The fabrics are Flower Sugar from Lucien.


You can never have too many, or make too many of these pincushions.
Also...you can never take too many photos of them, right?

I hope you don't mind this photo-heavy pincushion post!


Pin It

February 28, 2013

Mini Christmas Stockings

There goes February!
The way time is flying in 2013,
I'm especially glad I've committed to making
at least one Christmas-y project
every month, along with Julie at The Crafty Quilter.

{Ahem...yesterday was the next-to-the-last day of the month, but that counts!}

g


There's another benefit to this promise I've made myself.
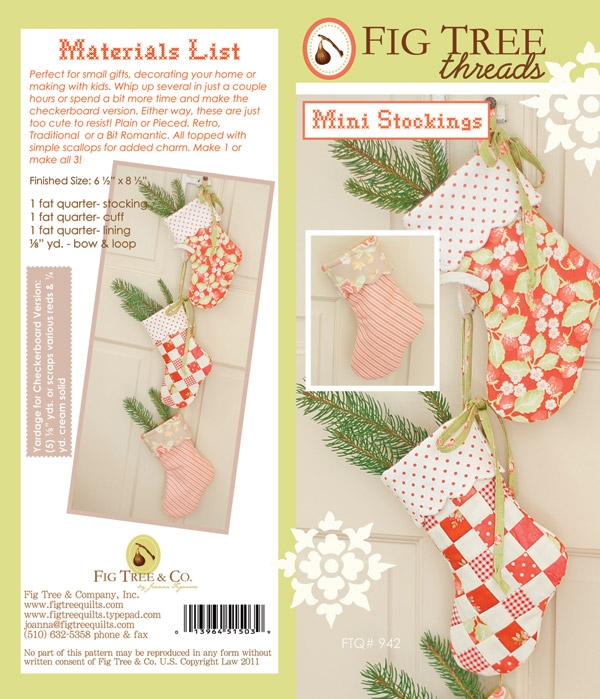
I've had this pattern for Mini Stockings by Fig Tree Quilts, 
almost since the moment it was released in fall of 2011.

Photo from Fig Tree Quilts website
I've read it over and over,
because I enjoy pattern reading...
don't judge...but I've never actually made any stockings before now.

All of a sudden I now have 3 of them finished...so far!


I have amassed a pretty good stash of Cherry Christmas
fabrics by Aneela Hoey for Moda.
I pulled out my beloved fat-eighth bundle and some yardage.

The pattern calls for fat quarters of fabric for the little stockings.
I'm happy to report that fat eighths can be used instead,
with the important exception of the directional prints
in the body of the stocking.

{Save the directional prints for the cuff, if you don't have yardage.}


I'd like to show you what I made, review the pattern,
and point out a couple of tips I came up with in the process.

This was the first one I created...
I think the shaping of this stocking is absolutely perfect!

{I've checked out dozens of stockings, and this is "the one" for me!
It's just right, with respect to proportions and angle of the foot...
oh, yes, I care!  And it's small and CUTE.}


I plan to make some more of these cuties,
using the patchwork pieced method described in the pattern.
Being that it was the end of the month, though,
using single fabrics for the stocking pieces
made this a really quick and easy project.

{I'm saving the little scraps to stitch together into some patchwork...good idea, right?}

This pattern uses my BFF PFF...
that is, Pellon Fusible Fleece 987F.
I couldn't find any reference in the pattern
instructing which layer of fabric to line with the fleece.
I assumed it was the outer print, not the lining,
and it worked beautifully that way.
I just went ahead and fused the outer pieces as soon as I cut them.


After I made the first one,
I increased the cutting dimension for the height of the rectangles 
that are cut to make the scalloped cuff, by about 3/4"
to allow more room for the seam allowances, 
and to make the cuff just a wee bit larger.


{You can see the slight difference it made here.}


The method for sewing the scalloped edges
was the most exciting and innovative step of this project
for me, and I was thrilled with the outcome!


After sewing the seams for this project,
I trimmed each of them to about 1/8".
This allowed me to achieve nice smooth curves,
not only in the body of the stocking,
but also the tiny scalloped cuff edging.


Additionally, when I stitched the linings,
I purposely used a generous 1/4" seam,
so they would nest inside the stocking neatly.

I used a ton of steam to really flatten the finished stockings.


I left my stockings plain...for now...
and did not make the tie and loop for hanging them.  
I want some flexibility on how to use them.
They would be so pretty on a place setting,
for instance.

Closer to Christmas I will most likely
find a way to jazz them up a bit,
maybe with a little garnish of buttons or wool felt holly leaves.
For now I just love looking at them all fresh and smooth.

{Oh, and there's my little label inside the darling finished stockings.}


I can't say enough about how much I adore this pattern.
I was afraid I wouldn't be able to make them 
as pretty as the ones on the pattern cover, 
but I am so pleased with the results.

I think they are just delightful,
and I can't wait to plump them up
by filling them with little goodies this Christmas!


Pin It