Showing posts with label Tanya Whelan. Show all posts

August 7, 2014

A Hexie Flatware Pouch for the Across The Pond Sew Along

I shared photos of some little hexagons
I made using a mini charm pack
of Glamping by Moda.


My mom was quite taken with the cute
little 1" hexies,
so I decided to use a few of them to make something for her.
But what should I make???

I turned to a comment by The Patchsmith
for inspiration.
In my post for this month's
Amanda suggested using a single cutlery pouch
for a breakfast tray or a Mother's Day present.

{Brilliant! No need to make an entire set!}
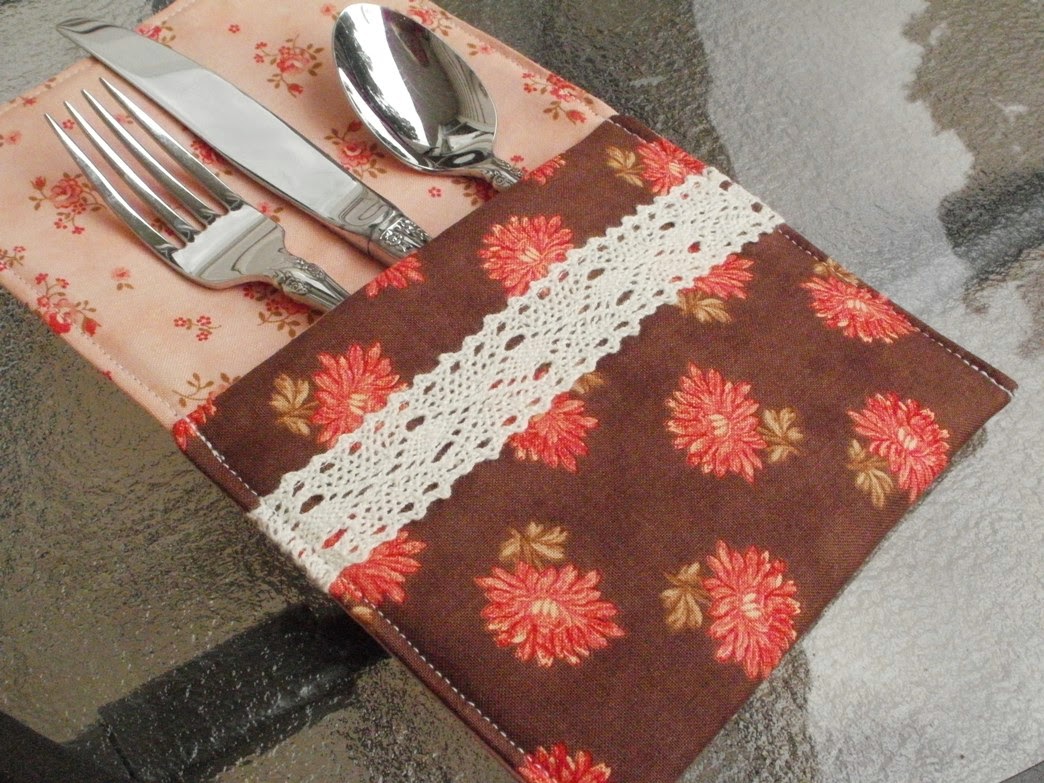

I made up a single one-of-a-kind pouch,
just as a special gift for my mom...
for no reason at all.


I chose three of the prettiest hexies,
and used white Kona cotton
as a glamorous backdrop.

I stitched around each hexie by machine.
So easy, actually!!!

{I shortened the stitch length to 2.0 on my sewing machine.}


For the lining of the flatware pouch,
I selected a piece of Sunshine Roses
by Tanya Whelan.
I love the aqua polka dots in the background.


This little flatware pouch
will brighten any day, don't you think?

Enjoy, Mom!


Pin It

February 22, 2014

More Thoughtful Pincushions - Part 2

Earlier I showed some photos from creating
made with adorable quotations
illustrated by the talented Susan Branch.

As promised,
I'm ready to share the finished pinnies!


After I had made up my log cabin blocks
for the pincushion front pieces,
I auditioned them with backing fabrics.

Let me show you the combinations I came up with!

The dried flower block looks sweet 
with the Scrumptious candy stripe...


Next I put another Marmalade print on the back
of the songbird block.


 I chose a larger Rosey print for the Tanya Whelan block.


 What could be more homey than a picnic check
from Children at Play?


I am just THRILLED at the way this bright Briar Rose
backing set off the butterfly pinnie.

{Can you see that little grasshopper?}


 And the Sugar Hill plaid tied all of these bright colors
together, so sweetly.


I have some tips to share, too,
on how I make my pincushions.
Once the piecing and cutting are finished,
I always use interfacing to add
soft support to the fabrics.

{My go-to product is ShapeFlex 101SF fusible interfacing, made by Pellon.}


Not only does the interfacing smooth the surface,
it also keeps the stitches from separating
during finishing and during use.

I stitch the fronts to the back, leaving an opening,
and then I turn and press the unstuffed pinnies,
until they are nice and flat.


Here's how they look on the backsides...


I think the best pinnies look as cute on the back as on the front.


{I love to put lots of stuffing in my pinnies, and the interfacing prevents distortion.}


Another detail I love to add is my little "eamylove" label.
I buy mine on Etsy here.


So here are the solo shots of the new
finished pincushions.

I had a hard time parting with the sweet Tanya Whelan one!


This one will surely bring a song to a singer's heart.

{I had to make another one for my mom, when she saw this one.
Mom is quite the beautiful singer, too!}


I think this one turned out very charming,
with the colorful dried flower bunches.


Can you tell, I have a soft spot for country sweetness?
I love the little heart in the window of the house.


Here is a fresh cheery pinnie, to warm any dark days.


And the bright beauty of the butterfly,
with the drama of black...
is my very favorite.


They are all off to their new homes...
where I hope they will be well-loved!

{I know that I loved making them, and I'll be making more.}

Pin It

February 20, 2014

More Thoughtful Pincushions - Part 1

It's my firm belief that 
you can't have too many pincushions.


I'm finding lots of wonderful friends who feel the same way,
and that's how we ended up with
53 skinny members of the
Skinny Pinnie Pincushion Swap!

{Once my partner has received her new pinnie, I'll show you that one.}


One day last week, I had a free sewing day!
I decided to make some more
using my Susan Branch illustrations.

{This was the first batch of Thoughtful Pincushions I created.}


Before anyone asks,
I must say that I've looked all over the web
and haven't found a source for the wonderful panel 
of quotations, illustrated by Susan Branch.

{Luckily I had quite a few squares left, even after sharing some with friends.}


I wanted to create this new batch of thoughtful pincushions
in the most playful way possible,
so I cut a whole bunch of colorful fabrics
into 1 1/2" strips.

{I'm pretty sure that in heaven, there will be giant heaps of fabric strips like this,
and all of the quilters will be allowed to jump in them, all day long.}


The real fun began when I chose the fabric strips for each quotation.
I made a log cabin style block for the front of each pinnie.

This one called for bright colors to go with the dried flowers.


I liked the old-fashioned prints
placed side by side with the modern fabrics.

{Repro prints from my earliest stash, along with Scrumptious and Mama Said Sew fabrics.}


Here's one I made for a singer...
who loves pink.


What a sweet quotation, huh?

{Bonnie and Camille fabrics...Marmalade and Scrumptious.}


This next one is a little bit country...


It made me feel warm all over, so I chose a dash of red,
with a bit of black and some gray and green.

{More Scrumptious, a bit of Bake Sale by Lori Holt, Mama Said Sew - again! - and a bit of a cherry print from JoAnn.}


I really loved the colors of this little nosegay,
and I pulled out some bright strips from the pile.


The finished block makes me smile!

{Marmalade, polka dots from Riley Blake, Briar Rose and green gingham from a vintage sheet.
The background is from Tanya Whelan's Sugar Hill line.}


Here's a quotation that would obviously look great
with lots of hot pinks and reds.


For some reason, though,
I decided to go sugary-sweet for this block.


Look what happened...so sweet that it makes my teeth hurt!

{All by Tanya Whelan...Rosey and Sunshine Roses.}


This last one...for today...is my new favorite, I think.
The quotation is as lovely as the drawing,
and I decided to go bold with my fabric choices.

{"Just living is not enough," said the butterfly.
"One must have sunshine, freedom, and a little flower."
Hans Christian Andersen}


I adore the drama of the black print against the lime greens,
with a taste of orange and blue!
This combination will definitely show up again
in my sewing future.


Stop by again soon, for Part 2,
to see the finished pinnies!

{I promise not to make you wait very long.}


Pin It

January 23, 2014

Romantic Rosey Journal Cover

Roses are always so romantic,
and when I spied the new Rosey fabrics
by Tanya Whelan, for Free Spirit,
I fell in love with them!

I ordered mine from Quilt Home, 
where there is always free US shipping with a $50 minimum order.

{There may have been some stowaways in the box, from other Tanya Whelan lines!}


Then my friend asked me to make a cover
for this notebook,
featuring a botanical print of a rose.

{It's just too pretty to cover up that cover with a cover, right?}


That's when I realized that I could use my own
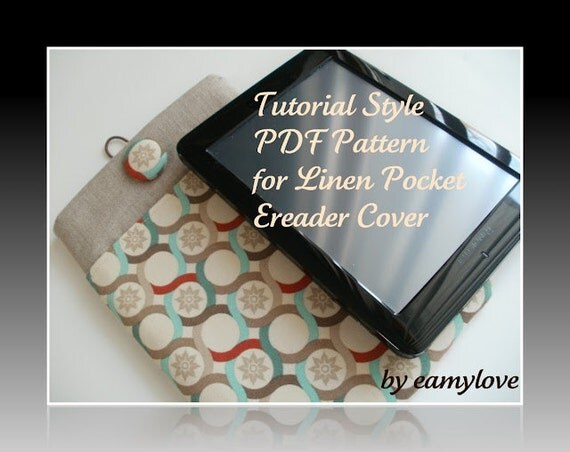
PDF pattern for the
to fashion a place to store the beautiful journal.

{It was so simple to make...I finished it in about an hour and a half!}


Instead of linen, I just used a coordinating print...
which had somehow jumped into the shopping cart...
from Sunshine Roses, also by Tanya Whelan.

{How did that get in my stash?  See above...}


For the interior, I selected another Sunshine Roses
fabric, a pale green damask.

{See my eamylove label?  There will soon be a post about those!}


This notebook has a very large spiral,
so it was good to know that my pattern would work
to cover a thicker notebook like this one,
as well as a slim tablet.
I just followed the instructions on my pattern,
and actually allowed an extra 1/2" for the thick spiral.

{It was plenty big in the end!}


The only other modification I made
to the original pattern was to add
a dividing stitch for the front pocket,
for keeping a pretty pen.


The Rosey fabric
was just perfect for a lovely covered button detail.


I'm so pleased with the outcome...
a stylish and sweet cover
for a very pretty journal.
It just invites you to sit down
and record some happy memories.

{There's something very Cath Kidston about that Rosey print. Must be why I love it!}


If you would like to order a pattern
for the Linen Pocket Ereader Cover,
it's available on Craftsy

Come back soon for more romantic rosey projects!

Pin It