Showing posts with label pouches. Show all posts

March 19, 2015

New Open Wide Pouches from Noodlehead

Having a husband and two teenage sons,
I don't get a lot of chances to sew girly stuff.
This month, though,
I decided to make a few Open Wide Pouches
from Noodlehead.


I decided to make some cosmetic bags
for three lovely young ladies who visit us often.

{Well...they really come over to see the guys.}

First off, I wanted to make a glamorous version,
so I chose black-and-white fabrics
with a hot pink zipper and interior.


Oops...I gave it away before I could get great photos,
but you can get the idea here.
The damask was so pretty, paired with the polka dots on the bottom.
The pop of pink reminds me of Paris.


If you use the measurements for the medium-sized pouch,
fat quarters work perfectly, even with a directional print.

I finally untied a treasured f/q bundle
of The Cottage Garden,
by the Quilted Fish, for Riley Blake.
Spring is nearly here, so I picked these fresh colors,
accented with a grass-green zipper.


The Cottage Garden features a text print that is
filled with inspiration quotes...
just right for girls who are competing and achieving.

DREAM BIG...shows up every time she opens this pouch.


Here's the finished pouch,
with the zipper closed. I love the shape of this pouch.


A little flower fit perfectly for the zipper tab.


This tutorial's impeccable instructions allow for success every time.


I made another pouch,
this time using the teal and steel tones
of The Cottage Garden bundle.


Oh, I wanted to keep this one.


I calmed myself..
 there are lots of prints in this palette
plus some nice-sized scraps left of these fabrics!


These modern and floral prints play so well together...
it's a lovely fabric line!


The finished pouch is nice and stable,
even before it's filled.
I always line the outer pieces and the lining
with Pellon ShapeFlex SF101 interfacing.


More inspirational reading inside...


I hope YOU will be inspired to sew something sweet for spring, too!


Pin It

August 22, 2014

A Giveaway From Zipit! - CLOSED

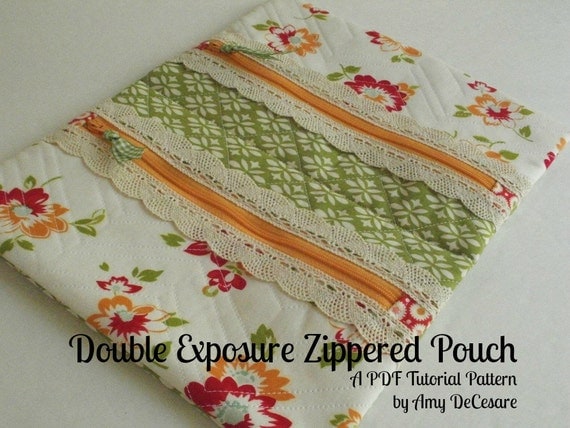
I've just released my new
tutorial-style PDF pattern for the


To celebrate,
I'm having a fabulous GIVEAWAY, courtesy of Zipit!!!

*****THIS GIVEAWAY IS NOW CLOSED*****

{All of the glamorous zipper photos in this post are provided by Zipit.}


Once you've made the Double Exposure pouch,
you're going to want to make lots of them.
For that, you'll need...lots of zippers, of course!

{Read on to find out how to enter the giveaway for a $25 gift certificate to Zipit!!!}


I've been a Zipit customer for a long time.
Prices are fantastic, selection is awesome,
and shipping is quick.

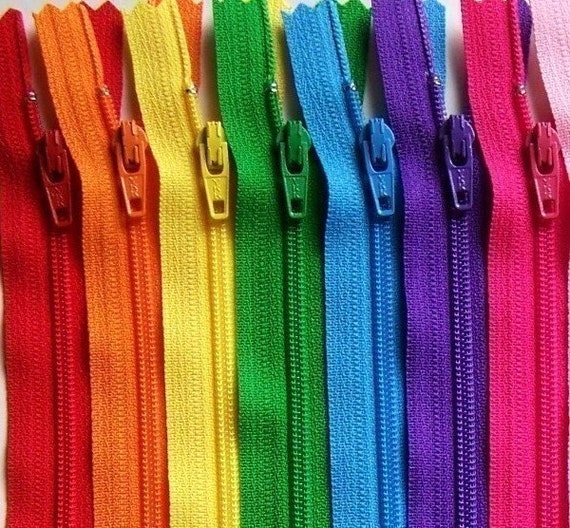
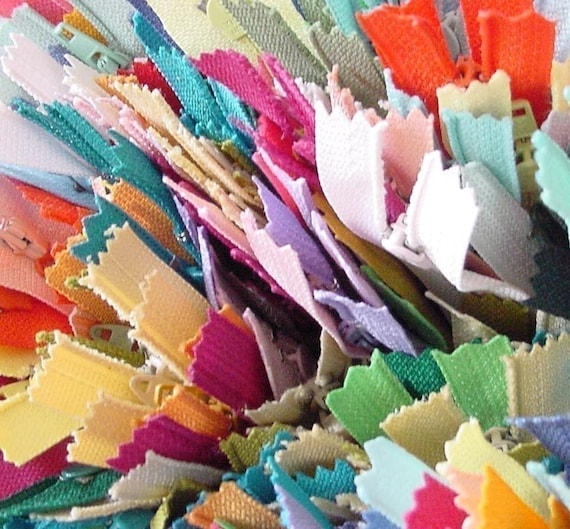
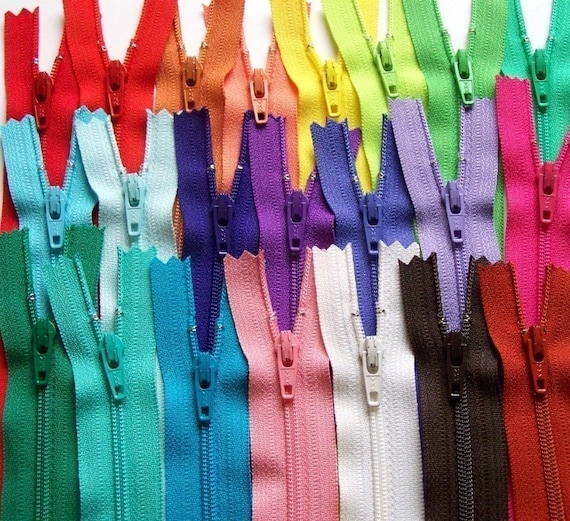
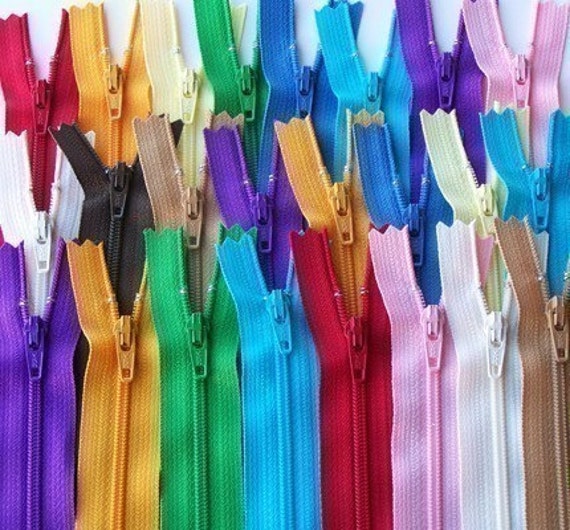
Look at these awesome colors!


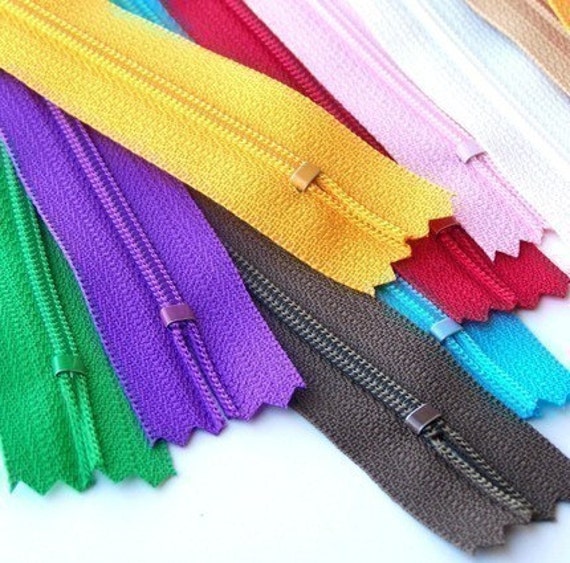
The zippers are nice and flat when they arrive,
not creased from packaging.
It's a small detail, but it adds to their appeal.


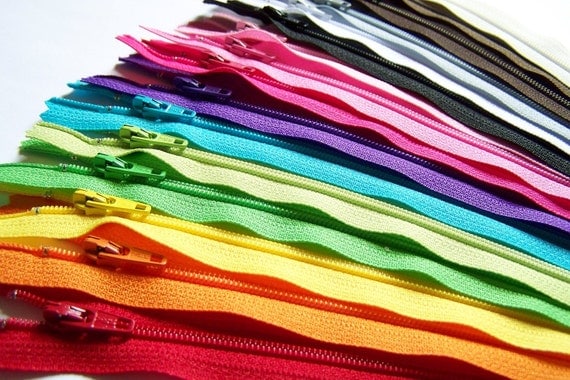
there are lots of ready-made assortments.


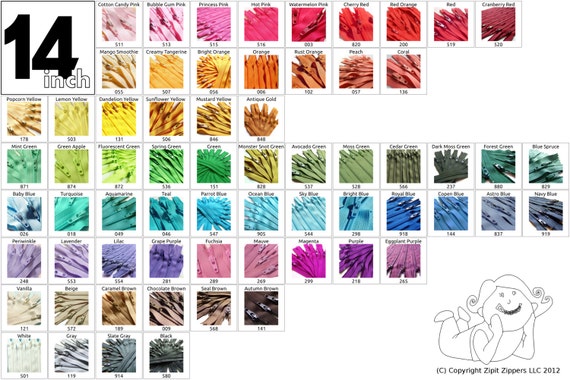
I love choosing my own color combinations,
using this chart...65 colors to choose from!!!


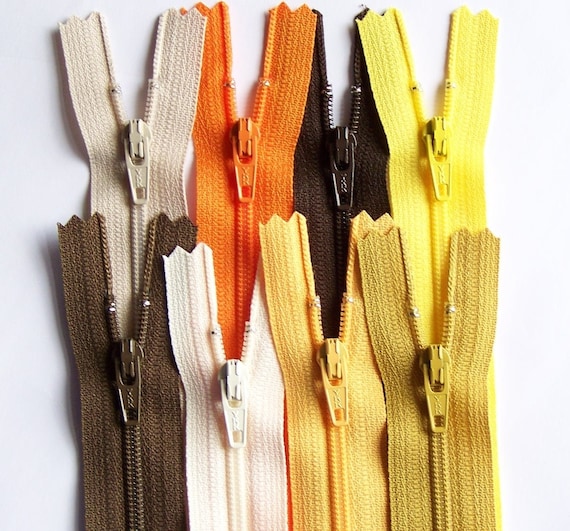
Here's a terrific palette of autumn colors...
just waiting to be made into back-to-school gifts!


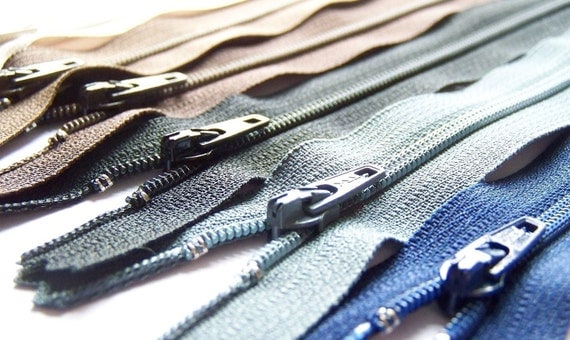
I always keep the basic neutrals on hand, too.
It's so great to have zippers on hand,
and not need to go shopping before I start a project.


I see lots of great SALE prices over there at Zipit!
So even if you don't win,
you can get a LOT of gorgeous zippers
at a bargain price.


To enter the giveaway for a
$25 Gift Certificate to Zipit,
please leave a comment to tell us
how many zippers are in YOUR stash.
Then guess how many zippers I've got in MINE!


Don't worry...
the winner will be chosen at random.
I'm just trying to get you to make me laugh.

The giveaway will be open until midnight on Aug. 31, 2014.

The winner will be contacted by email,
so if you are a no-reply blogger,
please include contact info in your comment.
Otherwise I'll have to choose a new winner.

Good luck!

Pin It

August 9, 2014

Hexie Flower Tutorial and Summertime Pouches

Today I'm blending two of my latest fascinations:
hexagons and zippered pouches!

Pop over to visit
where I've guest-blogged in detail
about these Red, White and Blue


While you're in the neighborhood,
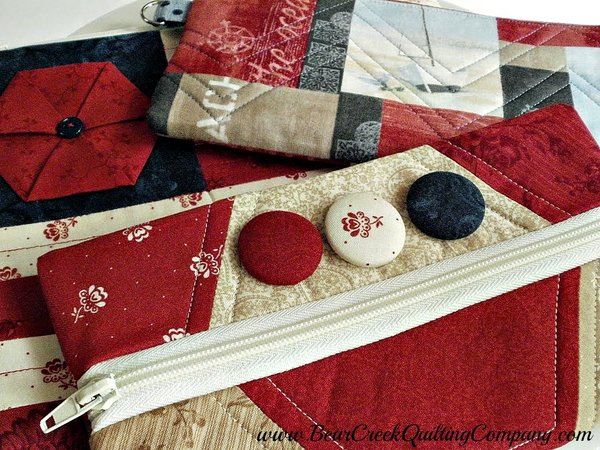
shop around at Bear Creek Quilting Company...
you never know what goodies you'll find there.

Besides yardage and pre-cuts,
in any color you want.

I used a few spools of Aurafil thread
when I made my summertime pouches,
and the stitch quality was just gorgeous.


The stitching is
just as pretty on the back as the front...
a true sign of a good quality thread,
along with the right tension on my sewing machine.


I used a Honeycomb pack of Midwinter Reds
by Minick and Simpson for Moda
for two of the summertime pouches.

{Midwinter Reds really work for midsummer stuff, too!}


Would you like to see a detail of 
how to make the hexie "flower"
on the flag pouch?

{Yes, I thought you would like that!}


Start with a hexagon of any size...
mine came from a Honeycomb pre-cut,
so they are 3" on each side.

{They measure 6" from point to point, according to the package.  That would be from one point to the one directly across from it.}


Begin by turning the hexagon over,
wrong side up,
and fold every other corner
to the center,
pressing with a hot iron as you go.

Here's the first corner folded...


and the second...


and the third.

{All three corners meet neatly in the center. It's okay to have a wee bit of overlap.}


Now you've got a triangle.
Take each of the three points,
and fold them to the center,
pressing them into place with that hot iron.


That's so easy, right?
Now tack those center points together
and use a little button to finish it off.


Starting with a hexie that measures 6",
the flower finishes at about 1 3/4" on each side.


I place my hexie on the front of my flag pouch.


I'm sure I'll use this accent for many more projects.
I hope you'll try making hexie flowers, too!


Pin It

July 16, 2014

Free Tutorial - Summer Placemats and Flatware Pouches

At my house, we're all decked out for summertime!


Wouldn't it be fun to jazz up your own table
with fresh new place settings?
Today I'm sharing a free tutorial,
for placemats and matching flatware pouches!


For these samples, I used a few summery coordinates
I got things started with a favorite print:
with red and blue cabanas on a creamy background.


Next I chose a solid fabric,
The taupe tones reminded me of rich sandy beaches.


And now for a little zing...


To make a set of 6 placemats and 6 flatware pouches,
I used about one yard each of the Beach Huts and Linen,
plus 1/2 yard of the striped fabric.
You can cut pieces for 3 placemats,
cutting across the 54" width of home dec or curtain weight fabrics.

Let's get started making the reversible placemats.
I created pieced sections for the front sides.

For each placemat:
cut a section of the beach huts fabric,
measuring 6" high x 17 1/2" wide,
to be used as the center strip.

Add the bottom strip in linen,
cut to 3 1/2" high x 17 1/2" wide.
Add the top strip, also in linen,
cut to 5 1/2" high x 17 1/2" wide.

Here's the placemat front, all stitched and pressed.
Trim the finished front to 13 1/2" high x 17 1/2" wide.


{Keep in mind, you can use a single piece of fabric
or make a patchwork in any pattern. Design opportunities are endless.}

For each placemat cut a backing piece,
measuring 13 1/2" x 17 1/2" wide.

Pin the front and back pieces with right sides together.
Starting on the upper edge, about 2" from a corner,
stitch around all 4 sides with a generous 1/4" seam,
leaving about 2 -3 " open for turning.

Here's a tip I always use
whenever I leave an opening for turning.
I backstitch a tiny (1/4") seam
that goes from the opening to the edge of the fabric, 
as shown in the photo below.
This strengthens the opening
and also makes it easy to turn under the edge
during the pressing step.


Turn the placemat right sides out through the opening.
Use a turning tool to smooth out the side seams
and gently push out the corners.
Give it a good press,
then topstitch near all the edges.
Repeat to create a set of four...or six...
or however many you need.

Admire your gorgeous finished placemats!


And they're reversible!


Now let's make those fun flatware pouches.
For each pouch:
cut (1) outer fabric 6" x 15"
and (1) lining fabric 6" x 15".

Pin outer fabric and lining right sides together,
and stitch with a generous 1/4" seam,
just as you did for the placemats,
leaving a 2" opening on one long edge for turning.

Turn the pouch right sides out through the opening.
Use a turning tool to smooth the seams
and gently push out the corners.
Press well.


Place the pouch with the lining side up,
and fold the bottom edge up to make a 5" pocket.
Press well.


Begin stitching at the bottom fold,
and topstitch along one long edge,
across the top,
and along the other long edge.
Reinforce the stitching along the top edges
of the pocket,
since these are stress points.


These are super quick to make,
and you'll have your set finished in no time.
Look how sweet the flatware pouches look,
filled with silverware and a napkin.


They really dress up those pretty placemats,
don't you think?
These would make wonderful gifts
for Mother's Day, birthdays, wedding showers...

I made some more, to match my Cherry Kitchen decor!
They're just as much fun to use indoors.

{Also, I have a fabulous red gingham picnic tablecloth for my outdoor table.}


I feel more of these coming on...
perhaps with some ric rac trim,
or button-down flaps.

For now, I'm going to have fun using this set all summer long!


This set looks really sharp with the Beach Huts pillows
I had created last summer!


If you create your own placemats or flatware pouches,
I hope you'll let us know how yours turn out!
Feel free to leave a link in the comments,
or add them to my Flickr group here.
Enjoy!


Pin It