Showing posts with label skinny pincushion. Show all posts

February 28, 2014

Skinny Pinnie - Received!

We are closing out our 
By now, everyone should be mailing
and receiving their finished pinnies.

As the "swap mama" I had the luxury
of choosing my partner,
and I selected the lovely and talented
Beverly, of golfingbev on Flickr.

Look what came in the mail for me,
courtesy of Beverly!


There is so much goodness in here,
starring the most adorable...
and petite...skinny pinnie,
composed of teeny tiny hexagons!


See that needle book in the background?
It's made to match the pinnie,
that I must try someday soon.

{Sigh...}

{Photo by golfingbev on Flickr}
There are little treasures I'd never seen before,
such as Japanese zippers...
with French sayings...


Or little cherry zip pulls!
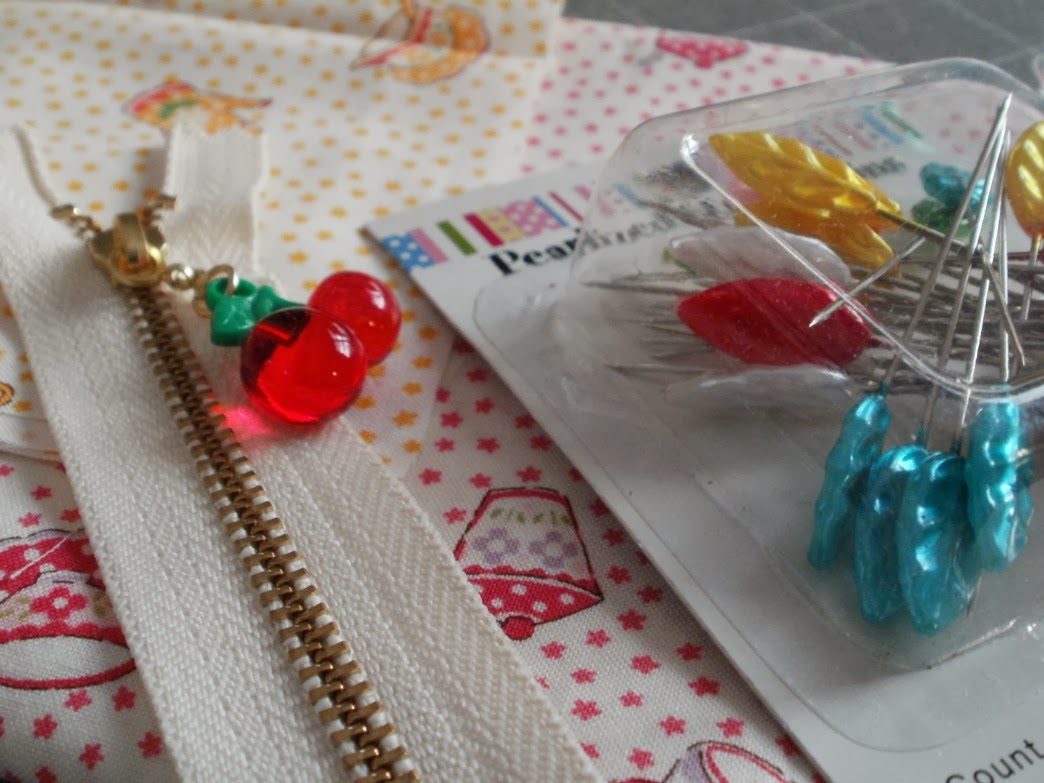


There are Japanese sewing and crafting goodies galore
in this little stack of sweetness.
I love each one to bits!

{Everything was all bundled up with bits of Washi tape!}


There was something old...vintage feedsacks!


And something new...this handy Seam-Fix
seam ripper with a little thing on top
for picking up the snips of thread.

{Of course I may never need to try that tool, since I'm such a perfect stitcher. Ahem...}


There are more fabric samples, too...
little teapot prints I had admired on Bev's Flickr site...


and even a Glamping mini charm pack!

{Can you find it, among all of the treasures?}


And look at this darling little tag!


I first noticed Beverly's sewing talents
during the Zakka Along 2.0 Patchwork, Please sew along.
Beverly has a distinctive style,
mixing bits of fabric to create detailed treasures
that leave me breathless.

Check out her photostream, and you will see what I mean!

Beverly's Patchwork Please Apron - Polka Dot Cafe
Thank you, Beverly, for spoiling me rotten!

{I will be able to trace my new Japanese sewing fixation to this magic moment.}


Pin It

February 24, 2014

Getting Skinny With My Pinnie

WOW! What fun I've been having with our

I've joined 52 of my skinniest friends,
and we are all making our partners

Here's what I made!


My skinny partner, Stephanie,
lives in Pennsylvania.

{Me, too!}

She told me she likes ric rac and selvages.

{Me, too!}


She loves Bonnie and Camille fabrics...

{Me, too!}


The fun part is that
I didn't even know that she is such a fan of
Bonnie and Camille until after I'd sent
her new skinny pinnie to her!


I love using some linen
along with dreamy fabrics like this.
It's a little design detail I picked up
from the Zakka Style Sew Along.


I had sew much fun making this pincushion!
I left the ric rac unstitched on the front,
just anchored in the seam,
for holding a small pair of scissors.


For the little selvage insert,
I adorned the top unfinished edge
with a wee bit more of the same ric rac.


I shared that I love to use
Pellon ShapeFlex 101SF interfacing
to keep my pincushions from distorting
during the stuffing process.

{It gives the pinnies great shaping...skinny or not!}


If you'd like to see lots more beautiful skinny pinnies,
head on over to our Flickr page,
and get the skinny!

Come back soon, and I'll show you what my partner made for me!

Pin It

January 16, 2014

Getting Skinny for 2014

I'm not really a fan of New Year's resolutions.
This year, though,
I've decided to GET SKINNY,
and I'm inviting all of my quilty friends
to join me!

{Come on...it's going to be FUN!}

We're getting skinny by having...


No matter what your dress size,
and even if you don't think of yourself as a skinny girl,
you can do this!
It's so easy!!!

to create a one-of-a-kind,
made-by-you, made-for-your-swap-partner


Maybe you remember the month
the Across The Pond Sew Along.

{Susie is super skinny - she made two of them! So inspiring!}

Susie's pair of Skinny Pincushions
My sweet bloggy friend Nesta,
somehow came up with the idea to have a
Skinny Pincushion swap.
It's going to be just the cure for the winter blahs!

Nesta's skinny and sweet pincushion
A Skinny Pincushion is easy to make.
You can add some assorted goodies just for fun,
then send it off to a happy new friend...
and wait for your OWN Skinny Pincushion to arrive
from another swappy friend!

The Patchsmith designed a sewing mat to go with her skinny pincushion!
Here's the skinny on the swap:

1. Email me to tell me you would like to join the swap.
eamylove@aol.com

2. Specify whether you are able to ship internationally,
or if you would only want a partner in the US, 
or your home country.

3. Include your own mailing address in the email.
Also include any likes/dislikes and requests about colors, themes, or size.

4. Spread the word to other friends who might want to Get Skinny!

5. The swap registration will close on January 31, 2014 at midnight.

6. You will receive the mailing address of your partner from me,
via email, sometime in the first week of February.

7.  Create your Skinny Pincushion and mail it to your partner 
by February 28, 2014.

That's all!
We have started up a Flickr page,
and you can get ideas or cheer others on,
as they get skinny.

I found lots of inspiration on our Across The Pond Flickr page:

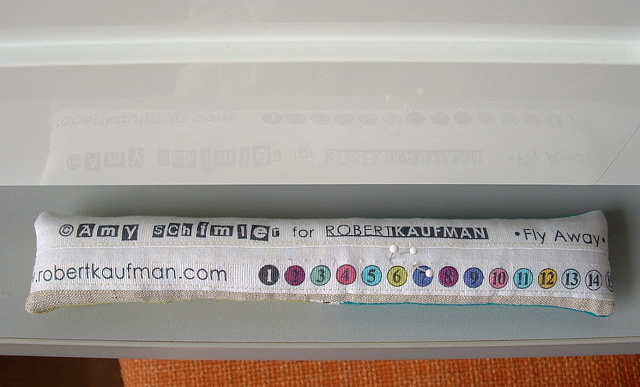
I think this is the BACK of the one by Elly of Mad4Patchwork!
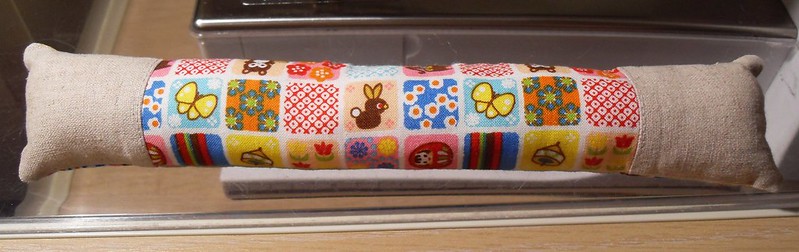
The front is so sweet, too!

So many cute little motifs on one skinny pinny!

Vera of Negligent Style used selvages to make hers unique
and fascinating.

Vera is motivating me to get skinny right now!
Cindy's Skinny Pinny is so stylish
and sweet, in every detail.
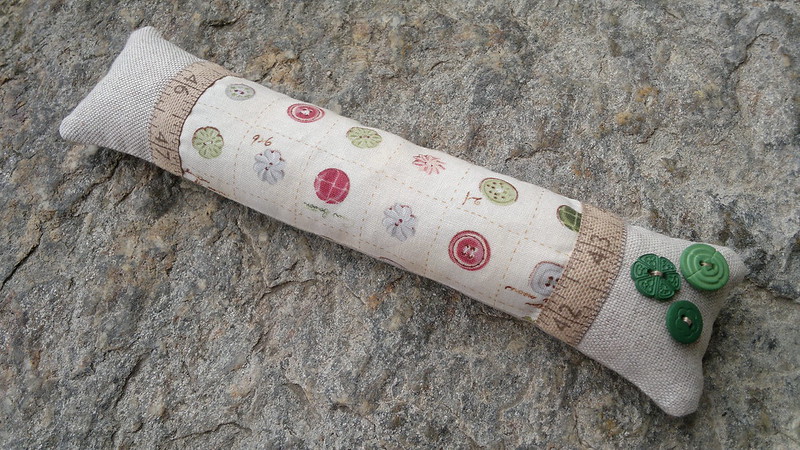
Those buttons are just so charming!

Visit Cindy at Adventure's of the Singing Quilter for more ideas.
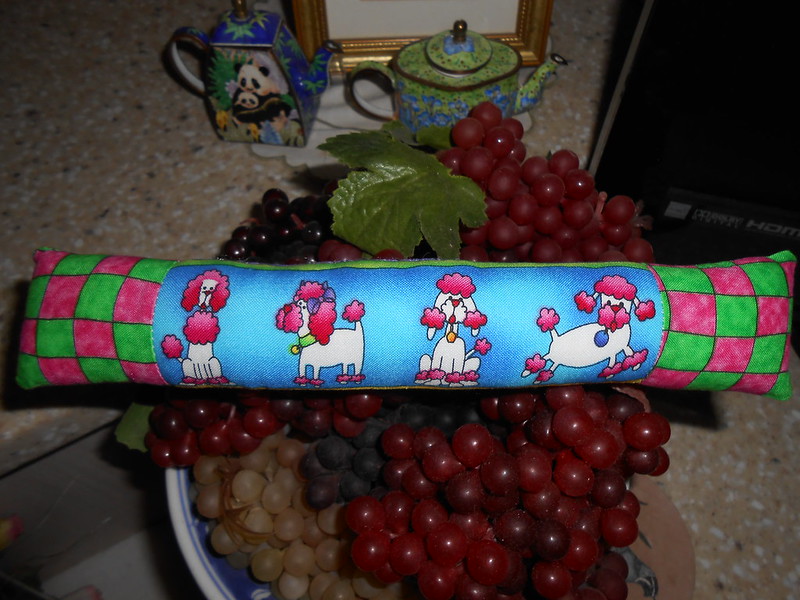
Pennie Pins posed her poodle pinnie
on Flickr.
Pennie's poodles are sitting pretty for healthy snacks.

Top 5 reasons "Getting Skinny" was never so easy:

5.You can do it in less than an hour.

4. All of your clothes will still fit you, no matter what your size.

3.  You can lie down while you Get Skinny,
and you won't need a nap when you're done.

2. While you are getting skinny,
you can eat chocolate or ice cream,
or even chocolate ice cream!

1. You'll have a new Skinny friend,
when it's all done!

So sign up now by emailing me at eamylove@aol.com.
We'll all Get Skinny together!


Pin It

October 17, 2013

Skinny Pinny for October Across The Pond Sew Along

The Skinny Pincushion is this month's
and I was really grateful to Susie of Susie's Sunroom
for picking something that is so quick to make,
fun to create, and useful!


{The free tutorial can be found here from Green Bee Designs.}

These are Susie's skinny pinnies!  Photo from Susie's Sunroom
Want to see mine?
I was tempted to use the Panoramic setting
on my camera, to capture it in its entirety.

I'll just show you some close-ups, in stages, instead.

I started out with a favorite Lakehouse button print. 


 For the main body, I used the text print
from Sweetwater's "Mama Said Sew" line.
I was "saving" this sewing print for something special,
and it does make a killer pincushion!


All the way down at the other end,
I used the red and black ricrac from
the same Mama Said Sew line.


Here it is, all in one photo!


When I made my skinny pinny,
I pieced together the fabrics for the top,
to measure about 3" x 15".
I cut a piece of the button print for the bottom
that also measured 3" x 15".
I fused some Pellon ShapeFlex SF101 interfacing
to the wrong sides of the top and bottom,
for some support.

I stitched the pieces wrong-sides-together,
leaving about a 5" opening in the center of the long side 
that would become the top of the pincushion.
My finished pinny is about 2 1/2" x 14 1/2".

Here's a trick I always use when I have to leave
an opening for turning and/or stuffing:
I stitch from the edge of the project,
straight over to the start of the seam, backstitching,
on each side of the opening.

{It's easier to show you than it is to describe it.}


Here's another tip:
after turning the pincushion right sides out,
I always give it a really good pressing,
to smooth it before stuffing.

{Now's the time to add a cute label, too, if you've got one.}


Susie and many other pincushion aficionados
swear by crushed walnut shells,
for stuffing their pinnies.
I'm allergic to walnuts myself,
so I just used plenty of polyfil to plump up mine...
just a bit.

{It's still skinny!}


Once it was stuffed, I hand-stitched the opening closed.
Now you know why I chose to make my opening
at the top of the pincushion,
where it will rarely be seen.

;)


Just for a bit of jazz, 
I added a piece of black ricrac to my skinny pinny.
I just pinned it between the top and bottom layers,
along a seam, before I stitched them together.
The ricrac is actually not stitched down,
except at the seams.
I'm hoping to find a nice new pair of scissors
that can be slipped under the ricrac when I'm not using them.


I've already enjoyed using
this little gem, and it's loaded up with many more pins
than I've shown in this photo.


From both sides of The Pond,
we hope you'll share photos
in our Flickr group, if you find  few minutes to make
your own Skinny Pincushion!


Pin It