Welcome, friends,
to the June edition of the
As of June 1, Amanda had already
constructed two adorable little cottages!
for the red one shown below.
{You won't be sorry!}
 |
| Photo by Amanda The Patchsmith |
The best part about this month's project is that
we can all make these adorable houses
If you go to Flickr and search for "Retromama houses,"
you will come up with all sorts of inspiration.
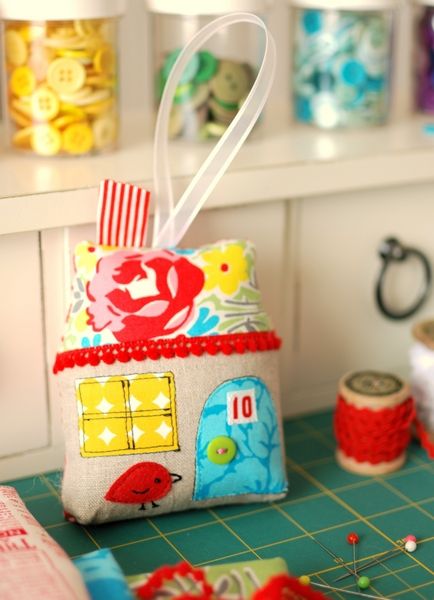
Here is a super sweet one made by Kim - Retromama herself.
 |
| Photo from Kim of Retromama |
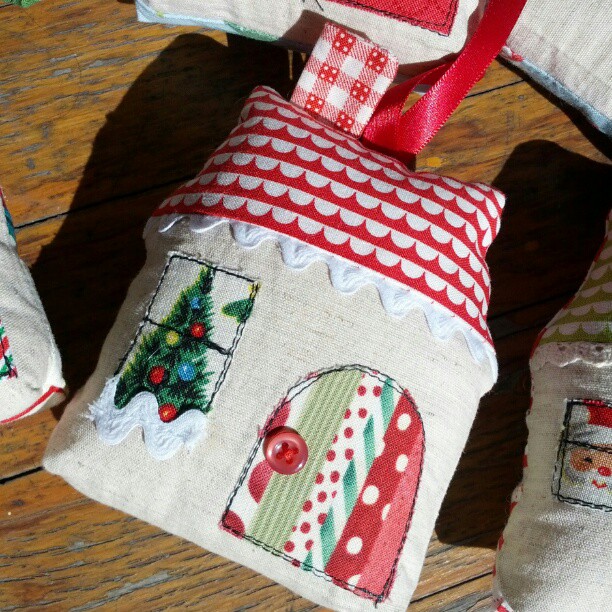
I found this darling little Christmas house,
It's just one of many cuties she has made.
{Look at the Christmas tree in the window...heavenly!}
 |
| Photo by Kylie of Three Honeybees |
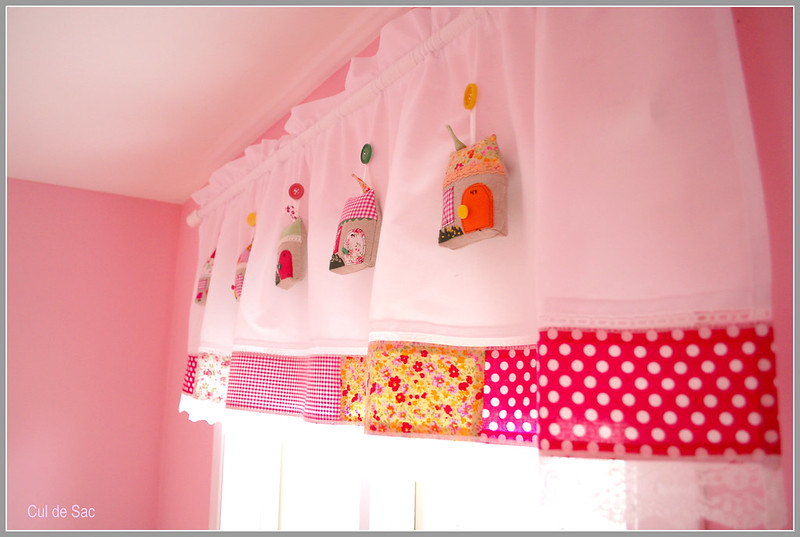
The little houses are made as ornaments, with ribbons for hanging.
decorating a beautiful curtain valance.
the astonishing details on each little cottage!
{Utterly charming, right?}
 |
| Photo by Josee of cul de sac blog |
And now...there's a new building over at Susie's Sunroom,
and she's added all the charm of an English garden
to her sweet little cottage!
{I think I had an English accent when I read her post to myself.}
 |
| Photo from Susie's Sunroom |
I must say that if I'd seen Susie's house first, my window
might have had a contrasting color of thread
for the stitching. Brilliant touch!
I have to admit that I've had this house ornament
on my must-make list for quite a while.
I even had this issue of Make It Yourself
magazine by BH&G since late 2012,
which featured the same pattern,
among dozens of other great projects.
{My pages are nearly all dog-eared.}
provides me with that little
kick in the pants that I need,
so that I actually make a few of those must-do things!
Using some scraps from a recent project,
I set to work building my own little house.
Here's the result, and I'm so pleased with it!
Why, oh why, did I wait so long to build my dream house?
I love every little detail.
It's just so tiny and sweet.
I made the house number from a bit of selvage,
and it happens to be the house number of someone
in my real life. ;)
I found myself missing a coordinating
piece of ribbon for hanging.
I improvised with my pinking shears,
to make a fabric strip hanger.
The back of this house is plain,
but if I make any more, I might invest
some time into adding details on the reverse side.
{The Patchsmith's back yard puts mine to shame.}
I have to admit that
this house is really very small,
and it took me a while to turn it inside out
after stitching it together.
I think it was worth the effort, though. I love it!
I'm so glad that I waited until the last step
to add the little button doorknob.
I have some great polyfil that resists clumping,
and it was just right for this tiny project.
I picked it up at my local Walmart
and would recommend it for stuffed softies
and really small projects like this one.
Wouldn't this house make an adorable pincushion???
{Or a little housewarming or hostess gift?}
We hope you'll be inspired to join us in our
{Past finishes or latecomers are always welcome, too.}
Next time I post,
I'll let you know what else I made with my little house fabrics.
{If you want to know where my scraps came from...come back soon!}
 Pin It