If you've stopped by my blog before,
you may have caught a glimpse of my
way back in January.
{Uh-Oh...I think I was supposed to have a finished quilt by...March 2012.}
I had the wisdom and foresight to make mine a Christmas-y/winter quilt,
so I set a goal that was more my speed...
to finish it in time for Christmas.
{I did it!}
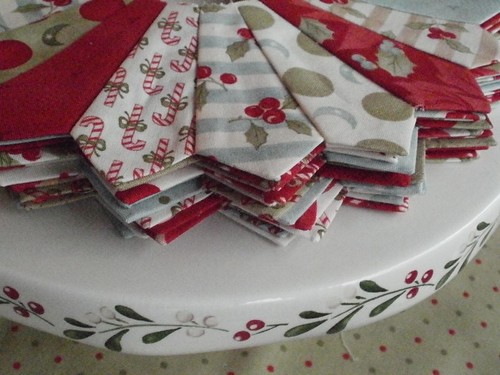
I had the most fun stitching the Dresden plates,
and I've got a couple of extras for making some matching pillows.
But for now,the quilt is just right for snuggling on the couch
with my little dog, Ginger.
I've had a few questions about how I quilted mine.
I use my regular sewing machine - a Pfaff 2040
that I've had for about 12 years.
I use spray basting to hold my quilt sandwich in place.
I almost never start quilting the same day as I spray,
and I don't have issues with the needle getting sticky.
I use the time-honored "fluff and stuff" technique.
I just focus on quilting the area under the needle,
not worrying about all the rest of it.
The first step is to stitch stabilizing lines,
in the ditch, with matching neutral thread...
along every border and sashing line
vertically and horizontally.
That leaves the blocks and the borders ready for
more creative free motion quilting designs.
I switch to invisible thread at this point,
so I don't interrupt my favorite fabric prints.
I made a petal design on the blades of the Dresden plates.
Then I stippled the centers and around each plate for every block.
{It didn't take that long, and I love how it looks on the back.}
For the skinny border, I just made a wavy line.
For the corners and the centers of the outer borders,
I drew a holly design, then traced it onto some Golden Threads paper.
I made 8 layers of the paper and stitched the design
on the whole stack at once,
with only the needle...no thread...to mark the pattern.
{See the holes making the design on the left?}
Then I laid the paper with the design on top of the quilt and stitched away.
When I was done, I patiently picked the paper off.
{Yeah...right. I had some tweezers, which helped.}
It doesn't show up a lot, but it's my favorite part.
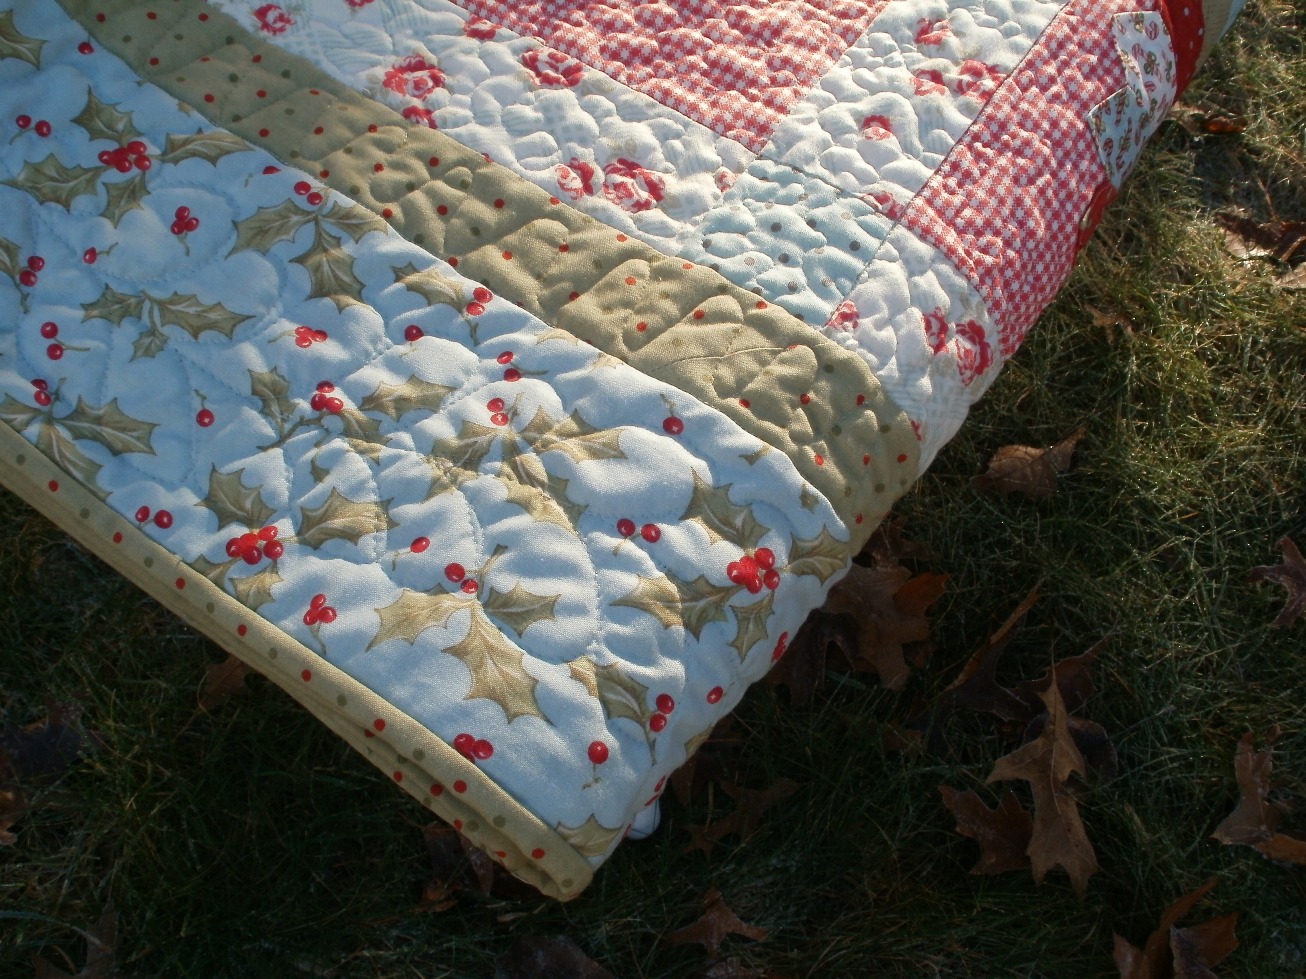
Here is a view of the back.
To finish the border, I added my OTHER favorite part...
lots of free-form feathers.
{The Scrappy Plate Club pattern used scalloped edges,
but I kept mine straight instead, since this is a lap quilt.}
I like the binding print, which matches the skinny border.
I am just delighted with my new quilt, and the fond memories of 2012.
 Pin It