Showing posts with label covered zipper. Show all posts

January 25, 2016

Hugs and Kisses - A Pillow Set

Here's comes Valentine's Day!
Are you going to be ready?
This year, I'll have lots of fresh and lovely
handmade items,
including this new Hugs and Kisses pillow set.


to create a whole bunch of 4-patch quilt blocks.
Before long, I had designed an X block...


and an O block, using a nice basic black blender for the background.
I like the charcoal gray undertones with the black.


My blocks finished at about 16 1/2",
which is just the right size to make a pair of pillows.

Here are the blocks made into pillow covers,
with zippered backings, to make cleaning easy.


I referred to my very own
I love the way the red Moda Swirl fabric
jazzes them up.
I finished them off with my "eamylove" label.

{Unfortunately, I think my supplier has stopped making labels.}


These pillows look so cozy and inviting on my couch.


I couldn't resist taking some glamour shots
in the morning sunlight.


These pillows are plump and full...just the way I like 'em.


Has anyone else been sewing with First Crush fabrics?
I'd love to see what you're making.


In fact...I'm going to do a little experiment to see
how much stuff I can make from this one lovely
layer cake, plus some coordinating yardage.

{Maybe I'll make some more of these pillows!}


Pin It

January 15, 2015

A New Merry Christmas Pillow

As part of my ongoing
"Christmas Through The Year 2015"
project,
I proudly present my latest pillow...
Merry Christmas!


This pillow will be mine to keep!
I love the way it matches
our brown couch.


I used my 4th and last (sniff...sniff)
"ink swatch" from Sweetwater.
You may recall the other pillows I've made,
using the other 3 ink swatches.

This "Let It Snow" one really works!
We have a few inches of pretty white stuff now.


I love the sentiments on the next two pillows,
describing what Christmas really means.


I believe in Christmas!


Nothing beats a simple
"Merry Christmas" greeting, right?


For this pillow,
I used some more of my beloved Winter's Lane
fabric by Kate & Birdie Paper Co. for Moda,
in rich brown and red.


I love the way this newest pillow looks
which I made back in 2013.


If you like that topiary pillow,
you can make your own,


As usual,
I've added a covered zipper to the pillow back.
You can learn how to do that


I've made the Merry Christmas pillow
only 12" square.


I adapted the pillow backing tutorial
by cutting my backing pieces out about an inch
larger that the finished dimensions.
It's not necessary to make it exactly the right size.
Just before stitching the backing to the front,
I trim away the excess backing.

This pillow looks pretty from every angle,
with a finished covered zipper.


This petite cushion packs a lot of style
into a small space.


 I'll be sharing more Christmasy projects all year,
so please stop by often, friends!

Pin It

January 4, 2015

Christmas 2015 --- Getting Started

I'm not one for New Year's resolutions,
but I do like to formulate a plan
for my sewing focus each year.

Back in 2013,
I made a conscious effort to sew
something for Christmas every month.
By Christmastime, I had a wide variety
of gifts and decorations.

{See this post for a complete listing of my 2013 holiday projects.}


For 2015, I've made up my mind
 to keep up with Christmas sewing again.
I've got lots of Christmas fabrics in my stash,
and I'd love to see what I can make by December.

It was so gratifying to make this pillow
as a gift for a wonderful friend,
and I was reminded of how much I love handmade holiday presents.


Inspired by that red and black color scheme,
I've already made my first holiday project for this year!
I used two more of my "ink swatches" from Sweetwater,
and I whipped up a pair of holiday pillows.


The first pillow says,
"Joy To The World"...one of my favorite
Christmas carols of all.


I found some sophisticated damask
in a home dec weight at JoAnn's.
I think it sets off the ink swatch perfectly.


Also at JoAnn's, I found cherry red solid home dec fabric.
I used it for the backing of these pillows.
For this pillow, I chose a black and white floral print
for the covered zipper flap.


The second pillow of the set says "Just Believe."


The simple sentiment goes well with this classic palette.


I really love the polka dot zipper cover.
Believe me when I say this method for making
pillow backings is truly easy and versatile.
To adapt it to different pillow sizes,
just add an inch to the finished dimensions of the pillow front.
Your backing will be a wee bit oversized,
but that makes it easy to stitch to the pillow front.


So here it is, only January,
and I've got a couple of plump Christmas pillows,
all ready for next December!


Stop by again soon...
I'll be sharing yet another holiday ink swatch pillow!

Pin It

August 19, 2013

Nautical Pillows for the Deck

As summer draws to a close,
time spent on our back deck becomes more cherished.
That's why I jumped at the opportunity
to stitch up some fabulous nautical pillows,
using these awesome prints from Terry's Fabrics!


has a vast selection of fabrics,
so it wasn't easy to choose between them.
 I had THE BEACH on my mind, so
my search for a focus fabric ended as soon as I discovered
this awesome nautical beach hut print.


I mixed in some fun coordinates:
an ocean blue geometric floral,
some sandy gingham, and fun beach-ball dots.

When I saw the fabrics in person,
I was delighted with the way my choices coordinated!
The prints were actually much larger than I had pictured them...
especially the dots...but that was a GREAT thing!


The quality is superior, and the fabrics were
highly cooperative, with no stiffness or tendency to fray.
All of my prints were home dec weight, except the gingham,
which was a lighter weight, more like quilter's cotton,
but woven...not printed.


I chose to use the gingham for my pillow backings,
and it worked perfectly, since I like to add a layer of
Pellon ShapeFlex SF 101 fusible interfacing anyway.


I kept the pillow top designs simple,
letting the fabrics play together in similar, 
but different strip sets, for the two pillows.


I stuffed my pillow forms inside,
and they were all set for picnics on the deck.

{I love the way the covers take up almost no space at all for winter storage,
and I can use the pillow forms for other covers.}


Beach huts, umbrellas, and bunting...
checks, stripes and dots...
just about all of my favorites are represented!


Terry's Fabrics is my favorite new find of the summer,
helping me to decorate my outdoor space.


Hmm...wouldn't the scraps make
the cutest beach tote???


Pin It

July 11, 2013

Welcome to the Christmas in July Blog Hop - Christmas Tree Topiary Pillow

Welcome, everyone!
It's my pleasure to present the first project

I've designed a free pattern, just for this event.
Introducing...
the Christmas Tree Topiary Pillow!

{At the end of the tutorial,
there is a GIVEAWAY, too, so be sure to read all the way to the bottom!}


The Crafty Quilter blog is where I first saw this gorgeous line
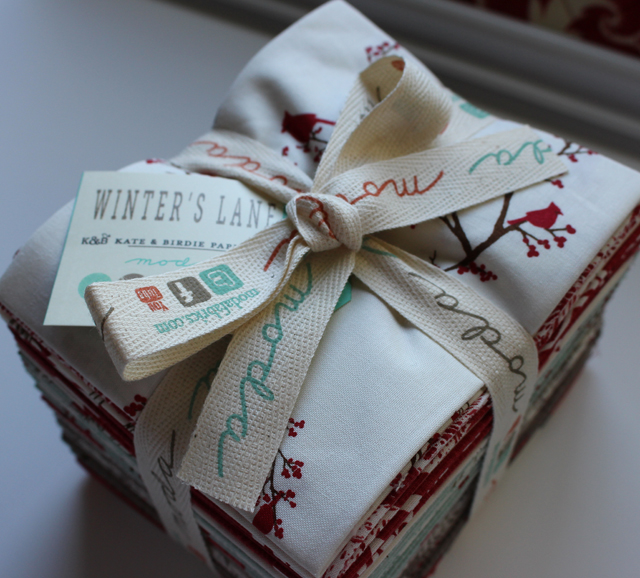
of holiday fabric...Winter's Lane
by Kate and Birdie Paper Co for Moda.

{It had me at "hello".}

Photo from The Crafty Quilter blog
Through the luckiest coincidence,
 I recently WON a fat quarter bundle
of this stunning fabric range!

It coordinates so nicely with my living room couch,
that even my son said I should use it to make a lot of pillows!
I'm off to a good start already.

I chose some favorite prints from my bundle.


To make the pillow, you need the following supplies...

FOR PILLOW TOP:


Heat N Bond, or other fusible web for applique shapes
(1) 15" square of background fabric
Scraps or charm squares of several different prints
for tree "seed" appliques
(1) 5" wide x 3 1/2" tall fabric scrap for tree base
(2) 2" x 15" strips of top and bottom border fabric
(2) 2" x 18" strips of side border fabric
(1) 18" piece of Pellon 987F Fusible Fleece for front of pillow

FOR PILLOW BACK:


(1) 18" square of fabric for pillow backing
(1) 18" square of Pellon SF101 ShapeFlex fusible interfacing
(1) 4" x 18" strip of fabric for zipper flap
(2) 1 1/4" x 6" rectangles of fabric for zipper extensions
14" zipper in coordinating color

Click to Download TEMPLATES for ChristmasTree Topiary Appliques.
Be sure to print using the printer icon,
and use the actual size or no scaling option.
(Seed shape measures about 2" from end to end
and about 7/8" wide.)

Trace a total of 30 applique "seeds" onto the paper side
of Heat N Bond fusible webbing.
Cut the shapes apart roughly, not on the drawn lines.
Place the shapes on the WRONG side
of the fabrics you are using for the tree applique
and iron in place according to manufacturer's instructions.

Cut the seed shapes out carefully,
following the lines that were traced.  Peel away the paper
from the backs of all of the applique shapes.

DESIGN TIP:
For my tree, I tried to suggest snow, covering the upper boughs.
I chose the lightest prints for the top-most rows,...


and placed darker fabrics in each lower tier.


For the base of the topiary,
draw the Base template 
on the paper side of Heat N Bond webbing.
Cut the base shape out roughly, not directly on the drawn lines.

Fuse the piece of webbing to the WRONG side
of the tree base fabric,
as directed by the manufacturer.
Cut the shape out on the drawn lines,
then remove the paper backing.

Lay out all of the tree appliques,
in rows as pictured,
centering the design on the 15" square of background fabric.
Fuse all of the pieces into place,
following manufacturer's directions for the fusible webbing.

TIP FOR PLACEMENT:
There is one seed on the top, with 2 seeds in the next row.
The third row has 4 seeds, the fourth row has 6 seeds,
the fifth row has 8 seeds, and the bottom row has 10 seeds.


Next add border strips to the top and bottom,
then the sides, of the 15" square background.
Press all seams away from the center block.


Fuse the square of Pellon 987F to the back of the pillow top.

{Alternately, you may use a layer of batting and a muslin backing,
to create a quilt sandwich. 
 Personally I prefer the smooth finish of fusible fleece, 
and it doesn't shift during the quilting process.}

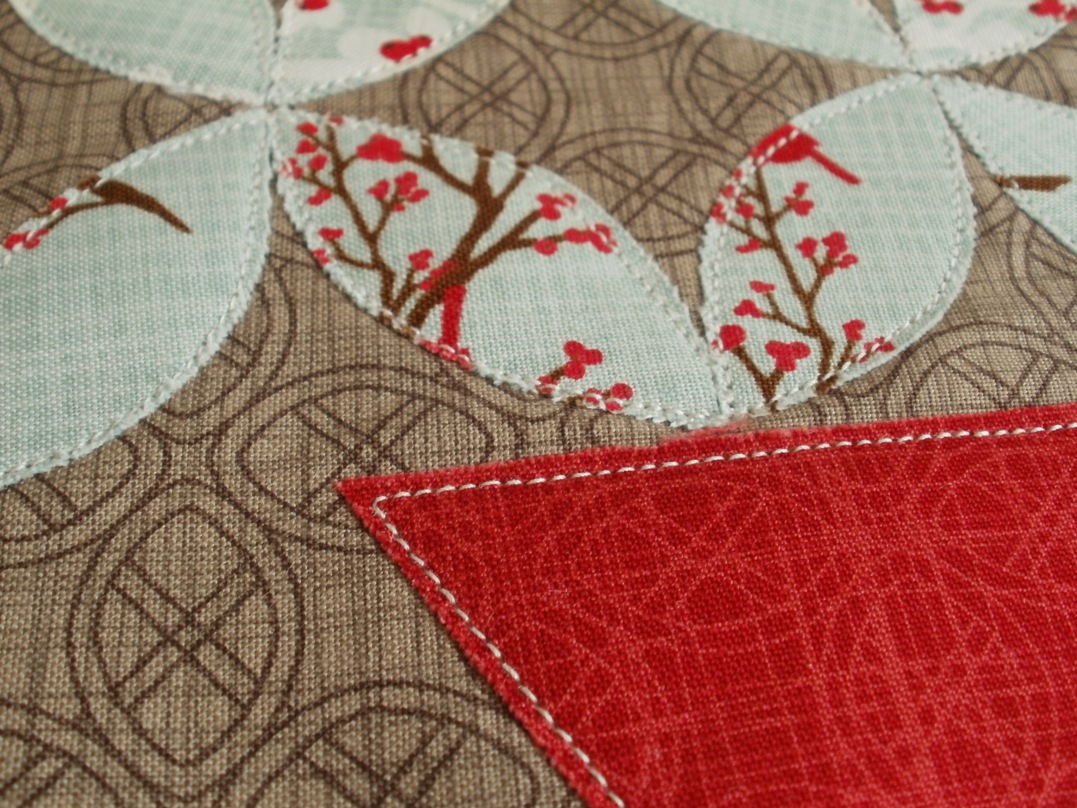
Stitch around the edge of each of the applique pieces.
I used a slightly shorter stitch length setting of 2.0
and it was very easy to negotiate the gentle curves,
even without lowering my feed dogs!

{If you like, you could blanket-stitch or zigzag the edges.  I just used a straight stitch this time.}


I stitched around the base, the same way.


For the borders, I stitched in the ditch.
If you like, you may add lots more quilting.

{Here's how mine looked on the back.}


To me, this pillow top seemed finished at this point.
Well...except...I decided to fuse one tiny little cardinal
onto my favorite bough.

{I love the dash of red this little bird adds...just like in nature!}


Now that the pillow top was complete,
to finish off my pillow.

{Here's the link for the PDF of the tutorial.}

I made one important adjustment for my backing,
since this pillow was going to finish at about 18", not 16" square.
I cut the zipper tabs a little bit longer,
so that the finished zipper would be wide enough.
The tab pieces I used this time measured
1 1/4" tall x 6" wide.

Here's the back of the finished pillow.
I think it's just as lovely as the front,
and I had the chance to use more of the tiny cardinals.


I added my signature label.


The finished pillow measures about 17 1/2" square.
It could be adjusted to make a pillow that is smaller,
(with no borders) or larger, with wider borders.


My new Christmas Topiary Tree Pillow
looks at home already on my chocolate brown couch.

{It's going to have to wait for a few months, though, before I use it.}


How would you like to WIN a kit
for making your very own Christmas Topiary Tree Pillow?

I like the way my pillow turned out,
but I'd love to put together a different kit for one lucky individual,
with all of the fabrics, fleece, interfacing and zipper,
for you to make your own Christmas pillow.

The fabrics and colors will NOT be the same as in my sample,
but I'll pick out something pretty...I promise!

To enter for the random prize drawing,
please comment below, telling me
what your favorite Christmas cookie is!

Comments will close at midnight on July 26, and 
I'll announce the winner on this blog post on July 27.
Please make sure I can contact you via email,
especially if you are a no-reply blogger.

Good luck, everyone, and come back any time!


Comments are now closed for this post.
Congratulations to Shawn, comment #27!
I've contacted Shawn via email.

Thanks to all who entered the giveaway...
good luck next time!


Pin It