May 13, 2013

Making Do


I've given the subject of quilting a lot of thought...
I often wonder why I have the "need" to quilt.
I figure it's in my Pennsylvania Dutch genes,
and I just have to do it.

{I'm like a beagle who longs to chase rabbits, even though it's a house dog.}


Today I read a post by my dear friend Amanda
about the philosophy of quilting.
I would highly recommend that you 
visit her blog to read about the Fabric of Life.


{Always good for a giggle, Amanda has a serious dimension as well.}

Amanda's mug rug for me, made with scraps

As I stitch and sew,
I love to think about the way our foremothers
somehow managed to create beautiful quilts
using only what they had on hand.

{Amanda thinks about this stuff, too.}

Antique 1930’s Garden quilt exhibited by Lynn Kough, 2013 AZQG
from Quilt Inspiration blog
As I thought of vintage quilts,
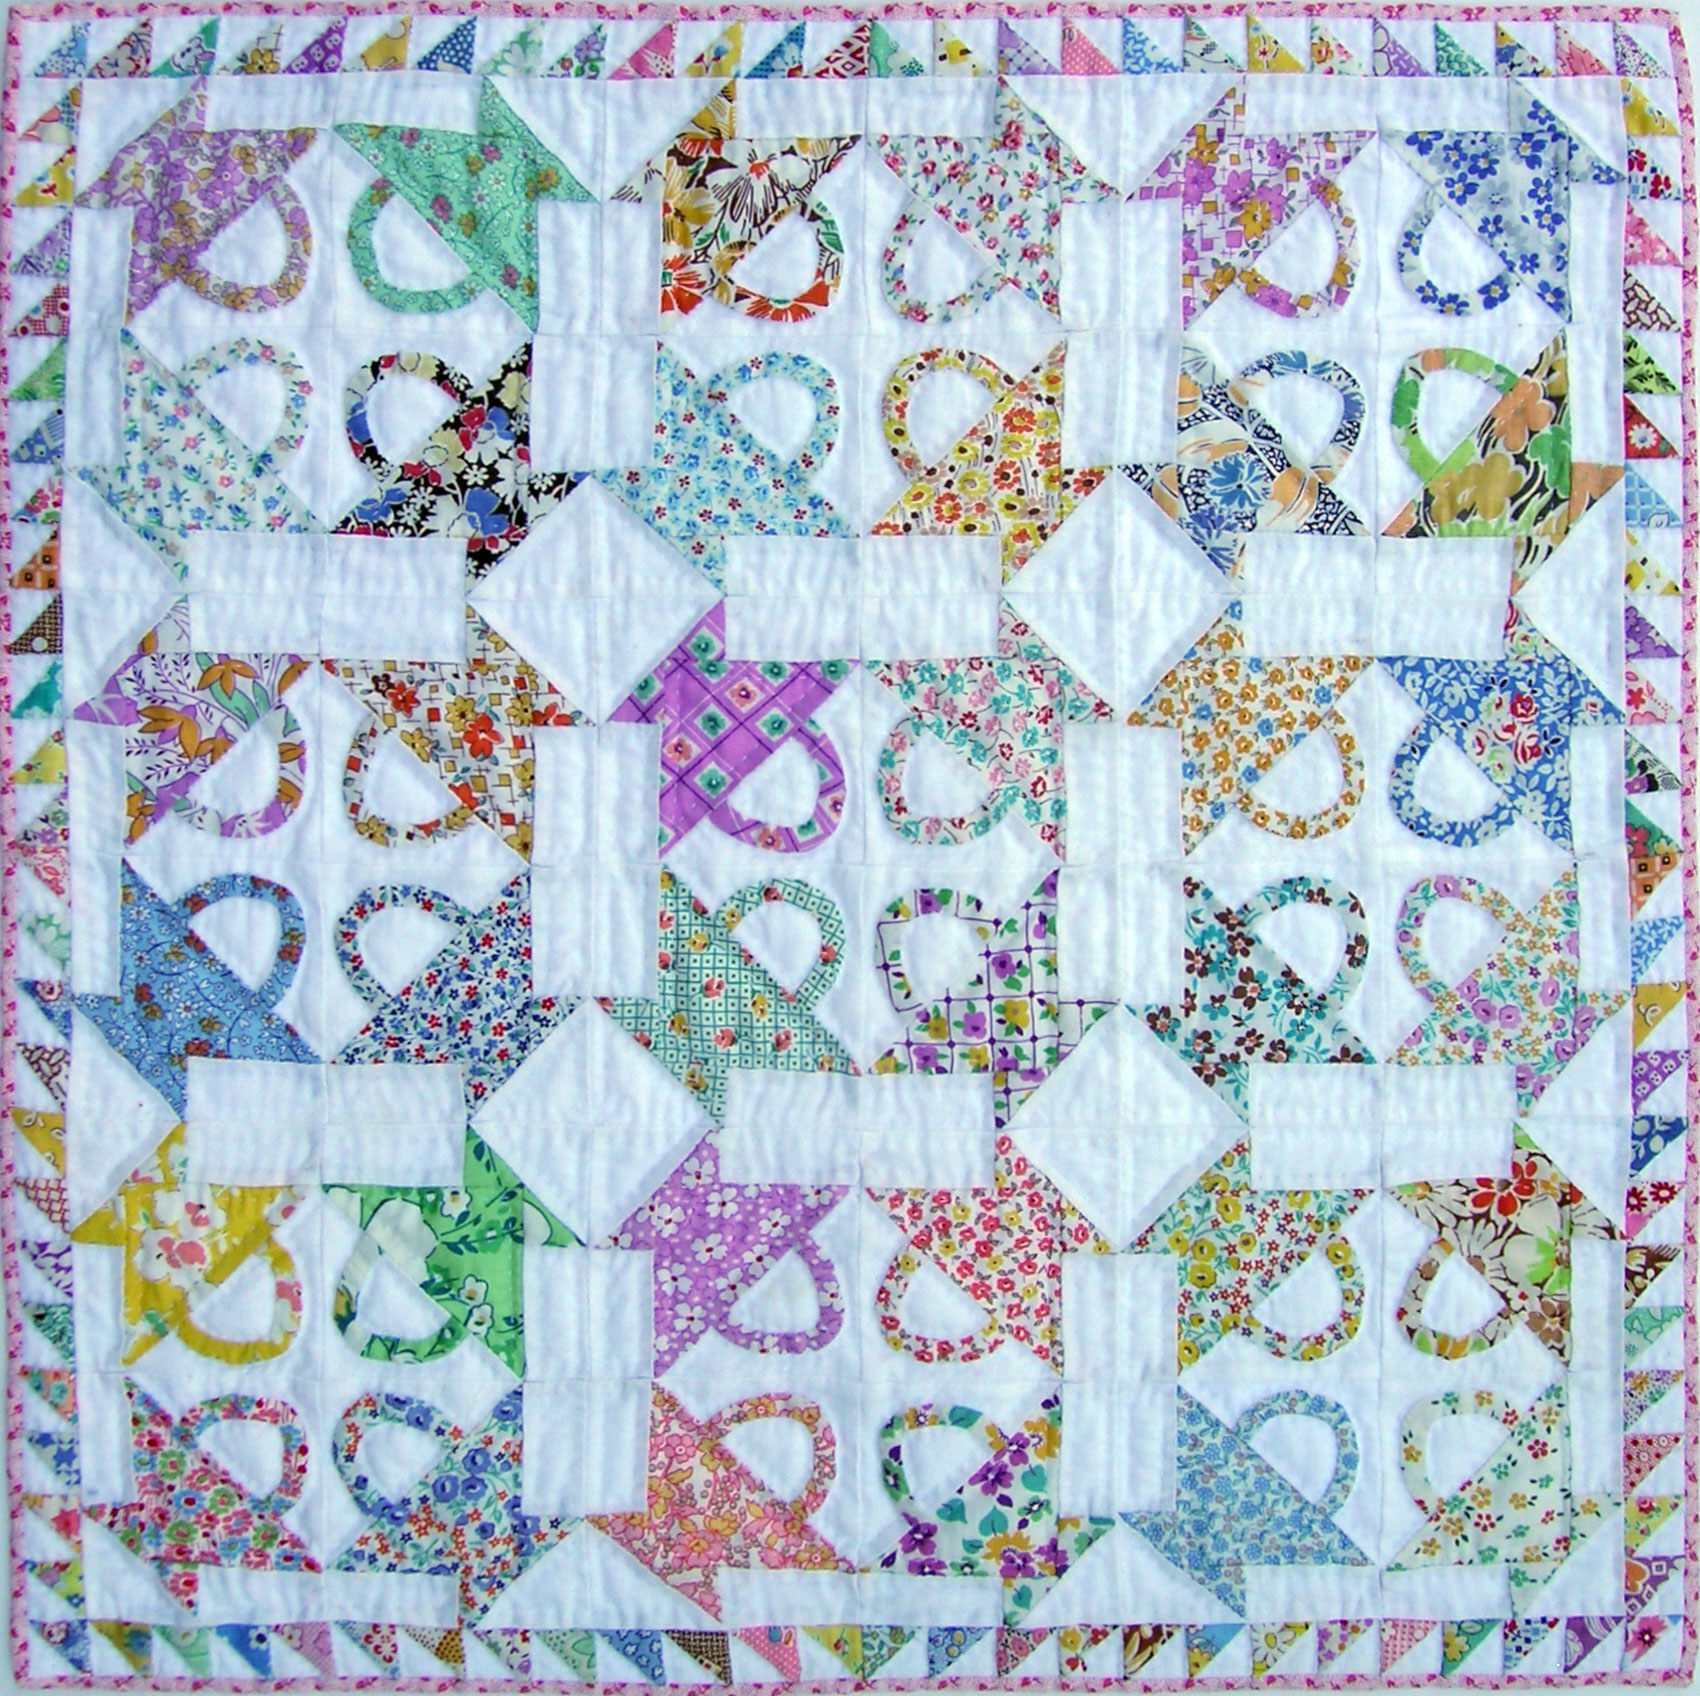
I was reminded of a project that I made 10 years ago,
and I'd like to share it with you today.
The block is called Bride's Bouquet,
but it's also known as Nose Gay
or Old-Fashioned Nose Gay.


There's a nice new post here about this block
on the blog called Tim Latimer - Quilts etc.
Believe it or not, I had never seen this blog before,
until I was researching the block for today's post.
This post was just written yesterday!

{Very timely, Tim!}


The story of my little table topper began
many years ago...
I made this label for the back of my project.


I won an Ebay bid for some scraps of feedsack cloth.
Along with the fabric pieces, I found an unfinished
Bride's Bouquet block.
I don't have a photo of the original block
I received, but it needed some work.
I picked apart the stitches
and put the block back together again, more carefully,
but in the same order as before.

{I'm pretty sure I had the luxuries of time and good lighting
that were lacking many years ago.}


I think it took me more than a few minutes to appreciate
the shocking selection of fabrics that the original quilter
used for the petal pieces.
Never, never, never 
would I have put all of these prints into the same quilt!

{Until I remade this block...and now I find them utterly charming.}


I had some pink polka dot feedsack scraps for the border,
and I used some vintage pink and green floral fabric for binding.
I made a crude cardboard template to mark clamshells
for the hand-quilting.

{I still remember the peace that came over me as I quilted this block.
My PA Dutch genes were working overtime that day.}


I think using bits of solids in 30's shades
helps to settle down those crazy feedsack prints.


I love "that green" and "bubble-gum pink" together.


Not only did our foremothers "make do" with what they had...
they also made it into something awesome.

Nowadays when I look at those wild prints,
playing so nicely together in this little old block,
I think to myself,
"That farmwife had an excellent eye for color."


Pin It

May 6, 2013

Giveaway Day! from Sew, Mama, Sew!

Today could be considered a holiday in blogland...
it's another Giveaway Day sponsored by Sew, Mama, Sew!

Comments are now closed for this giveaway.


I'd like to welcome new visitors to my blog,
as well as my regular followers,
and give you all a chance to win my prize.
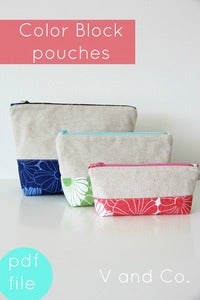
I'm giving away a set of zippered pouches!


I've used a new PDF pattern I purchased
from V and Co,


The pouches in the pattern sample are made with
Vanessa's soon-to-be-released line for Moda,
called Simply Style.

Since it won't be in stores until July,
I decided to use some of my Simply Color
fabric prints instead.


{Maybe we've met before over there?}


I was able to use 10" layer cake pieces for the bottoms of these pouches.
I think they look swell with the solid gray
and the bright zippers.


It's fun to open up the pouches
and see a splash of colorful lining inside each one.


I love the way they coordinate together,
in a small, medium, and large way.


Want these?


Just leave me a comment,
telling me what two-color combination is your favorite...today.


{I think mine is turquoise and lime.}

I will select a random winner on May 10
and notify the winner by email.
Please be sure I have a way to contact you,
if you would like to win.

Visit the Sew, Mama, Sew! blog for even more
chances to win, in 5 different categories!!!
Good luck!


UPDATE:
The winner of my giveaway is comment #10
AMBER

{Even her name is a pretty color!}


Congratulations, Amber,
and thanks to all of you for sharing your favorite color combos!
Pin It
May 3, 2013

Divided Baskets

Have you ever thought to yourself,
"What a great idea, and it's so simple
that I could have come up with it on my own!"

Well...this is NOT one of those times!

When I finished making my first
I was kind of shocked that it really worked!

{That's what a genius Anna is!}


Before I ever began cutting and sewing,
I read the pattern through...
about 6 times...
trying to imagine how this was going to happen.

Oh, I knew it would turn out great somehow,
because there was all kinds of proof on the internet.
and every one of them had success in a huge way.
Read the Noodlehead post for more examples.

{This one is by Lindsay of LRStitched.}

Source:  Noodlehead blog

I finally realized that this basket is not something
that is turned right-side-out at the very end.
There is a much more elegant and stress-free method
to create these baskets,
without the need to perform what amounts to a C-section,
in order to produce a finished basket.

I just plain followed the directions,
and at the end, I was rewarded with a lovely basket.


I am so pleased with my choices of fabrics
for my first divided basket.
I combined unrelated fabrics,
within a gray and yellow color palette.

It looks like the signature style of Susie's Sunroom, doesn't it?

The outside fabrics are home dec prints.
They give the basket a nice amount of sturdiness
and a pretty shape.
I found the text print at fabric.com
and I love the way it looks with a remnant
in yellow and gray that I picked up at JoAnn.


For the interior,
I think this Amy Butler print from Midwest Modern
is just right.


Now that my test drive was a big success,
I had the nerve to cut into a set of fabrics that I've been keeping
for just the perfect pattern.

I put together for a Fat Quarter Shop contest?


My prints remind me of a picnic in the meadow...
and obviously for any picnic, you're gonna need a BASKET.

I am happy to report that this little picnic basket
translated directly from my imagination
into my real world.


The gingham pocket is so charming against
the field of gray mushrooms.


Inside, the Gypsy Girl animal print is light and playful.


I still can't get over how clever this design is!
Even though I used quilting weight cottons this time,
the basket still has enough soft support to keep its shape.
The recommended interfacing does the trick!


There is room for creativity with this pattern,
in the print selection and placement.
It can be sewn with, or without,
a front pocket.

My favorite features are the little carrying handles.
I'm going to use my basket all summer long
on our deck, for holding napkins, plates, and other picnic items.


For those of you who have also made these baskets...
has anyone got tips on how to mail them inexpensively???
Please feel free to send me your advice.
I would love to make more to sell or send as gifts,
but am not quite sure how to package them.

I think I see many more baskets in my future.

Be sure to share your Across the Pond Sew Along
baskets for May, on the Flickr page!
There is lots of great inspiration over there!

Pin It

May 1, 2013

Across the Pond Sew Along - May Baskets

Welcome to the merry, merry month of May...
it's time to announce what's next in the

{If you haven't joined already, it's never too late!}


It was my turn again to choose the project,
and I decided to select a THEME for May...
BASKETS.

There are so many beautiful and functional basket projects
out there for those of us who love to sew and quilt.
I'll get you started with some free projects and 
a tried-and-true pattern for sale.

Have you seen this Divided Basket by Noodlehead
that is so popular in so many of the cool blogs?
It's a for-sale PDF pattern that I've bought
and am totally in love with.

Photo:  Noodlehead - Divided Basket pattern
There are lots of fabulous versions
featured all over the web...
my heart skipped a beat when I saw
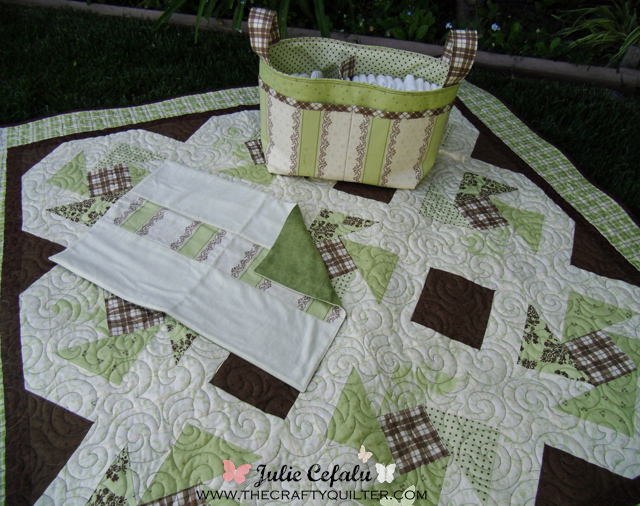
the one Julie made, at The Crafty Quilter!

{I've had a chance to make two of them already,
and I'll be showing them later in the month.}

Photo:  The Crafty Quilter blog

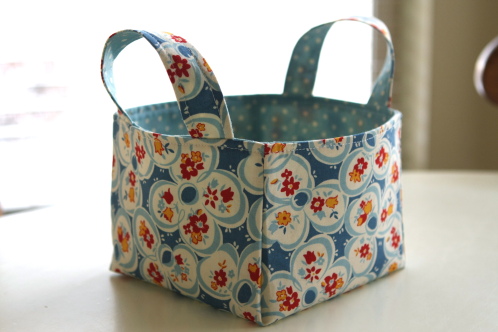
If you're looking for a free tutorial
for a fabric basket,
this one from the Make It Do blog
looks so charming!

She modified a tutorial from The Sometimes Crafter, adding handles.
You've got to stop by and see what purpose
this adorable basket is serving!

{It will make you smile, I guarantee it!}


Photo:  Make It Do blog
Basket blocks have been featured in
many quilt designs over the years...
in appliqued quilts...

Photo:  Basket Quilt by Always Quilts
pieced quilts...

Photo:  Bella Rose Quilts
and combinations of piecing and applique.

Photo:  Q is for Quilter blog
Remember last summer,
when I created my Zakk-ini Bread Basket?
That was a lot of fun, too...
what a great Mother's Day present that would make!


Don't forget to stop by and visit my co-hosts
Amanda The Patchsmith
and Susie's Sunroom,
to get more ideas for basket-making.

Share your finishes in our Flickr group for the
Across the Pond Sew Along.

{Stop by later for more updates on my May Basket finishes!}

Pin It

April 27, 2013

Copenhagen Pillow Finish

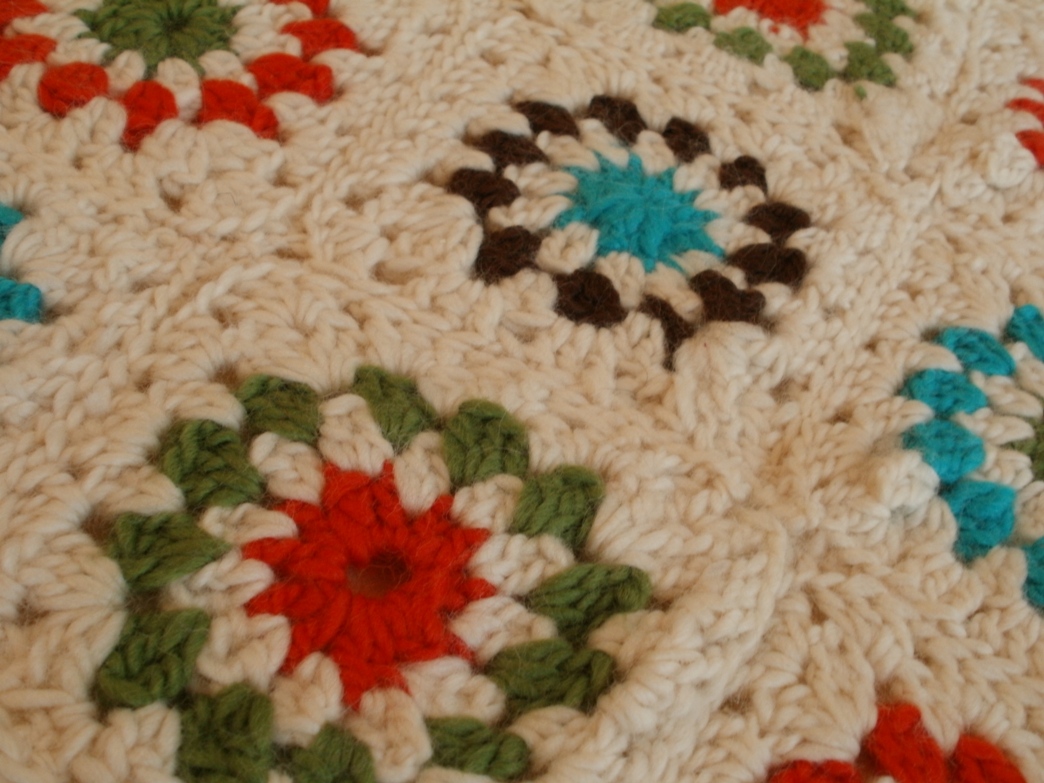
Have you seen the crochet-along
with Lisa over at Cubby House Crafts?


Or perhaps at her sister Jane's blog,


I think I could win a prize for being the one who
started the project first,
and also finished it last!

a long time ago.
In an earlier post, I told the story of my decision
to make this pillow, 
even though I barely know how to crochet.

{It's just too pretty to pass up, isn't it?}


My crocheted panel has been finished for quite a while,
but if you look at the pattern,
you might notice that there are no specific
instructions for making it into a pillow.

{More or less, they recommend stitching the crocheted panel
to a finished neutral pillow.}

That didn't really bother me,
because I've become a bit of an expert on making pillows.
Here's the way I finished mine...


I started out by giving the crocheted panel
a good pressing with the iron.

{Mine was very lumpy and bumpy, but it flattened out easily
with some steam. And yes, it smelled like a wet sheep, for a minute.}


I chose a creamy Bella Solid to back the panel
and create the pillow front.
To give it body, I fused Pellon ShapeFlex 101SF
to the wrong side of the fabric.
Then I stitched the panel onto the fabric,
along the scalloped edging.

{I'm so glad I added the interfacing, because it was quite heavy at that point.}


Next it was time to create the pillow back,

Months ago, I was shopping at JoAnn,
and this piece of fabric caught my eye
making me think of my Copenhagen yarns.
I snagged it, and I really love how it coordinates.


I love me some colorful zippers, too, 
even though they are destined to be covered.
Which one do you think I chose?


It wasn't easy,
but predictably I went with the Caribbean blue,
since I had some fabric in that shade.


After constructing the pillow back,
I trimmed the front and back to the same size,
then stitched them right sides together,
rounding the corners.

{My pillow tutorial starts out a bit oversized, and is trimmed to size at the end.}


Uh-oh.
Anybody want to guess what I didn't do?

I forgot to leave that zipper partway open for turning!
Oh.My.
But I remained calm,
and I managed to get the zipper open by grabbing
the pull, through the fabric layers.

{And no bad words flew out!}


I used an 18" pillow form to fill my
finished Copenhagen Pillow...


I wish I could show you how squeezy and plump it is!


I really enjoyed making this pillow
and seeing the other lovely palettes
from the crochet-along.


I had planned to use mine as part of my autumn home decor,
but it's already bringing a lot of springtime cheer
into the house.


I think I'll leave it on the couch for a long time!
Pin It